EXTERNAL DOCUMENTS
- 11 Sep 2023
- 3 Minutes to read
- Contributors

- Print
- DarkLight
- PDF
EXTERNAL DOCUMENTS
- Updated on 11 Sep 2023
- 3 Minutes to read
- Contributors
- Print
- DarkLight
- PDF
Article summary
Did you find this summary helpful?
Thank you for your feedback
External documents  can be files or URL links that can be positioned on the map and attached to KeyAqua objects. External documents can be added and viewed on the Attachments tab of the forms.

Adding an external document
To add a new attachment, click Add  on the form. This opens the External documents
  window.

- If you want to add a file, click Choose files.
- Select the file or files that you want to attach as external documents.
- Save the information on the form (Type is a mandatory field).
- Click Save
 , or if you are attaching documents to an object, click Attach document
  .
.
 , or if you are attaching documents to an object, click Attach document
  .
.If you selected several files, a separate external document is created for each file.
TIP: If you want to attach a web address, enter it in the URL text field or copy the address from the browser. If you also select a file, the URL is additional information to the document.
To open an attached document, click it with the left mouse button. This opens a window in which you can choose whether to open the file or save it. If you want to save the file, a new window will open for you to specify the location for saving the file and the name of the file. The URL link will open on a new tab in your browser.
To download all attached files to your device, select  Download as zip.
Viewing external documents
To select a document for editing, select it from the list with the left mouse button and then click Edit selected  . Information on the attachment will be displayed in the External documents window. Alternatively, you can open the window by clicking External documents
  on the toolbar. Click Save form
  to save changes.
Deleting an external document
Click Delete  to delete an attachment. If the document has been attached to an object, you will be asked to confirm the deletion.
Document size
The maximum allowed size of a single document is 100 MB. The storage space reserved for documents is limited – in principle, 4 GB of storage space has been reserved. You will be notified if this limit is exceeded when a file is being uploaded to the system. In this case, you must either delete old files to free up space or order additional storage space.
To check the disk space used by the files, click About in the drop-down menu for Help  in the upper-right corner.

Node ducts and elevations
The Node ducts and elevations form is used to view and update the elevation data for the selected node and the ducts connected to it. In the case of a sewer network node, you can create a printout called a Manhole survey card. The manhole survey card is used to display the data content and connections of the node and the ducts connected to it. To retrieve a node to the form, use the Pick  tool and define the required object on the map. If the area you define includes several nodes, a list of nodes will be displayed, and you can choose the node that you want.
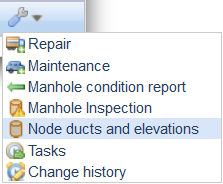
You can open the Node ducts and elevations form from the drop-down menu for Common in the toolbar at the top of the map view or from the menu for Other tools on the Sewer nodes form.
The Node ducts and elevations form consists of three sections: the Map window and the Node and Ducts tables. The directions of the ducts connected to the node and the names of the ducts are displayed in the Map window. The Node and Ducts tables present the property attributes of the objects in question.
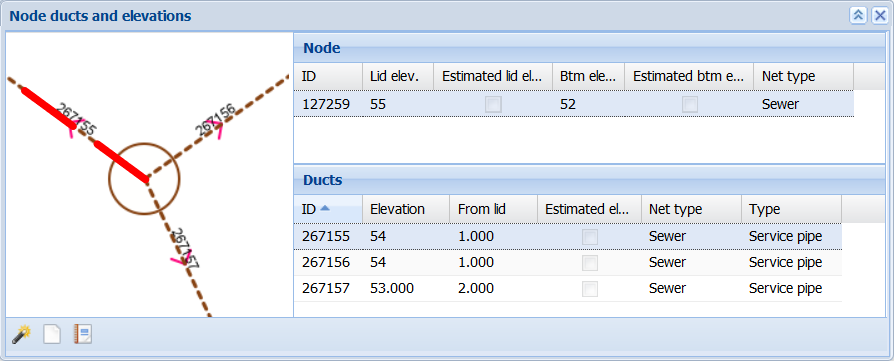
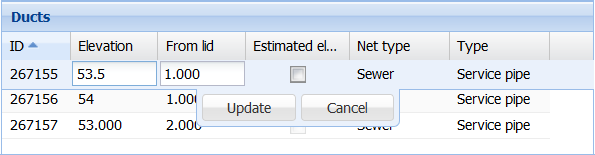
You can edit the elevations of objects connected to the node by double-clicking the object row. You can then edit the values on the selected line. Click Update/Cancel to update or cancel the changes you made.
To download and print the Manhole survey card and the condition-related information in PDF or XLSX format, click Manhole survey card  . To hide ducts from the Ducts list on the Manhole survey card, click the duct row with the right mouse button and select Hide. The duct will no longer be displayed on the Manhole survey card list and printout, but it will not be removed from the database. The manhole condition form is described in the chapter Manhole condition.
Manhole condition report
The Manhole condition report  form can be opened from the Other tools
  menu at the bottom of the Sewer manhole form. To add a condition report, click
  Add condition.
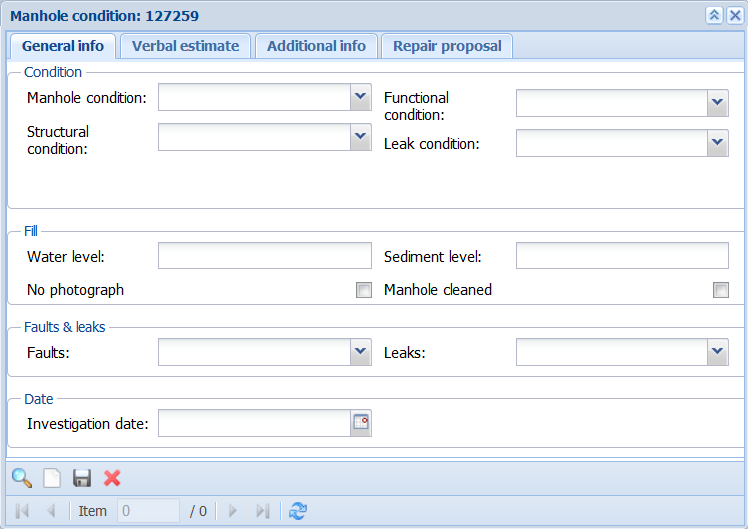
In addition to general data, you can also save comments, additional information, or repair suggestions on the Manhole condition form. The information saved on the various tabs of the form can be printed on the Manhole survey card. You can print it from the Node ducts and elevation form (see the section Node ducts and elevation.
Was this article helpful?