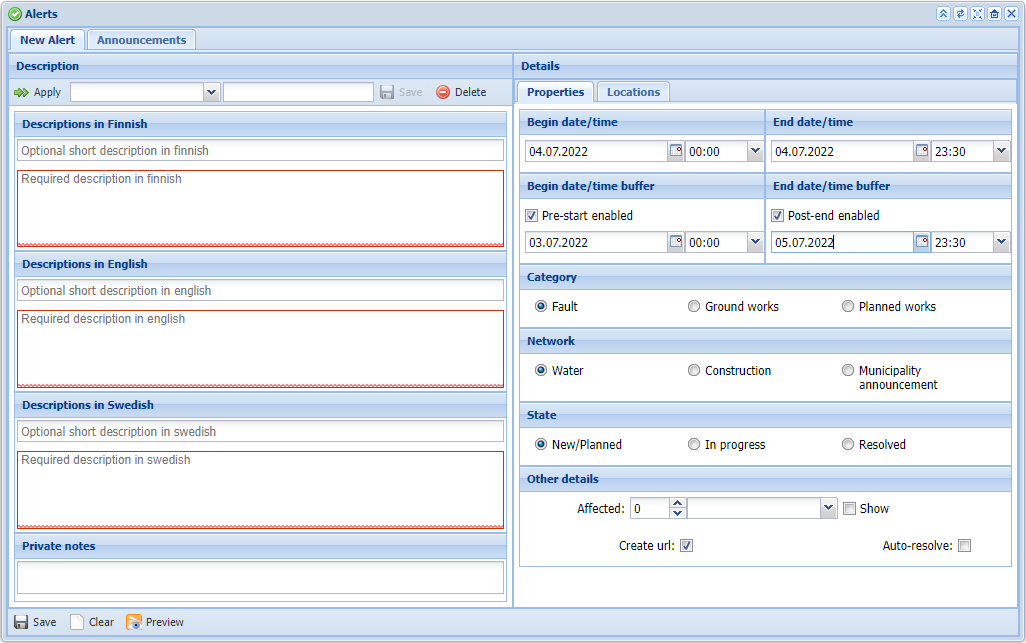
Click Alerts to open a separate form that is used for managing the affected areas and alerts. On the form, you can specify and save information on future construction, distribution breaks, and other disruptions, as well as their start and end times. The form is used to record information about the category and status of the alert and the network type. The form can be used to determine the number of customers affected by the alert.
Click Clear to clear the form of all information.
Creating alerts
- Create a new message or search for an existing message template, as instructed in the Creating new messages and templates chapter.
- Complete more specific information in the Details section of the alert. This section is discussed in the Details chapter.
- Complete the location information for the alert, as instructed in the Locations chapter.
- Click
 Save in the bottom left corner to save the new alert.
 - The alerts that you create can be viewed on the Announcements tab.
Creating new messages and templates
You can complete the alert text in the Description section of the alert. Information can be provided in Finnish, English, and Swedish, as the public alert information website supports these languages.
Note! A description in Finnish is also copied to the fields for texts in English and Swedish. You can also translate the text into those languages.
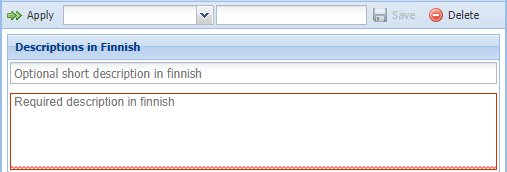
- Enter the alert title. This field is optional.
- Type a description in the fields below the headings. You cannot save the form without completing the Description field. If you do not want to save the message template continue to the Details section without saving the form.
OR:
To save a new template, name the template and click Save :
:

Note! In the Private field, you can enter organisation-internal information related to the alert. The contents of this field are not published to customers.
Details
The Details section is used for providing more detailed information on the alert.
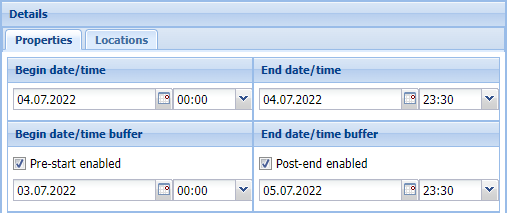
Begin date/time + buffer and End date/time + buffer: Specify the start and end dates of the alert using the calendar and time menus in the top section.
If you tick the checkboxes Pre-start enabled and Post-end enabled, the lower date and time fields will also be activated. Enabling pre-start means that you inform customers in advance of any disruptions, construction, or planned interruptions. In addition, you can inform customers after a disruption by selecting the Post-end enabled checkbox, in which case the alert will be displayed for the period you define.
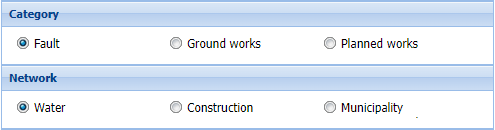
Alert category and Alert type
Select either Fault, Ground works, or Planned works as the alert category. In addition, select the network type that the alert is related to:
Alert status
Specify the alert status: New/Planned, In progress, or Resolved:

Alerts with the status Open and In progress are displayed on the map. Alerts with the status Resolved are not displayed on the map.
Other details
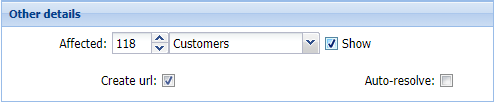
Use the Other details section on the alert form to provide more detailed information :
In the Affected field, specify the number of customers who will be affected by the construction, disruption, or planned interruption.
The Show checkbox determines whether or not the information is published in the alert.
The Create URL checkbox creates a link to the alert for the notification. The link allows customers to see the alert text and maps on a separate alert information website. For further information on alerts, please see the Notifications on disruptions chapter.
Locations
Use the Locations section to define the location of the disruption, construction, or planned interruption on the map. Open the Locations menu from the bottom-right corner of the Alert form.
In the picture, both a point and polygon location have been defined for the alert, with the polygon being selected.
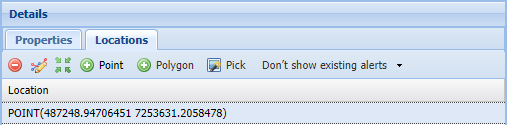
Point : Click on the map to add a point-type location for the alert within your operational area. You can add several points.
Polygon : Click on the map to add a polygon-type location for the alert within your operational area. You can add several polygons.
Pick : Pick an existing area geometry from the map.
None menu:
- None: Alerts are not displayed on the map.
- Active: Active alerts are displayed on the map.
- All: All alerts that have been created are displayed on the map.
You can modify a location, locate
  it, or delete
 it.
it.
Editing and deleting templates
- Choose a template from the drop-down menu based on its description:

- Click Apply
 to have the template information completed in the fields below for you to edit.
OR:
Click Delete to delete the template.
Saved alerts
The alerts are stored on the Announcements tab. The table presents the alert description, category, type, status, begin date, end date, and the date the alert was updated.

Each category type (fault/ground works/planned interruption) may be assigned a background color that is used when displaying the information on the alert information map. Similarly, the alert state (open/in progress/resolved) can be assigned a color that is also used when displaying information on the alert information map.
Edit alert
Select the alert you want to edit and click Edit alert . The warning will open on a separate Edit alert tab, where you can edit the information. When you are ready, click Save
 to save changes.
Deleting alerts
Select the alert(s) you want to delete. Click Delete  . The program will ask you to confirm the deletion.
New URL
You can create a new URL for one or several alerts. Use the Shift or Ctrl key to select the alert rows for which you want to create a new URL. Then click  New URL.
This is a useful function when you want to link more than one alert so that they are available through the same link.
Linking
You can add additional alerts to the selected alert link. In the Links section, click the link to which you want to add existing alerts. Use the Shift or Ctrl key to select from the Alerts list the alerts that you want to link. Click Link .
.
Unlink
If you have created a link to an alert and want to remove it, click Unlink . If the function is not available, the alert has no linking.
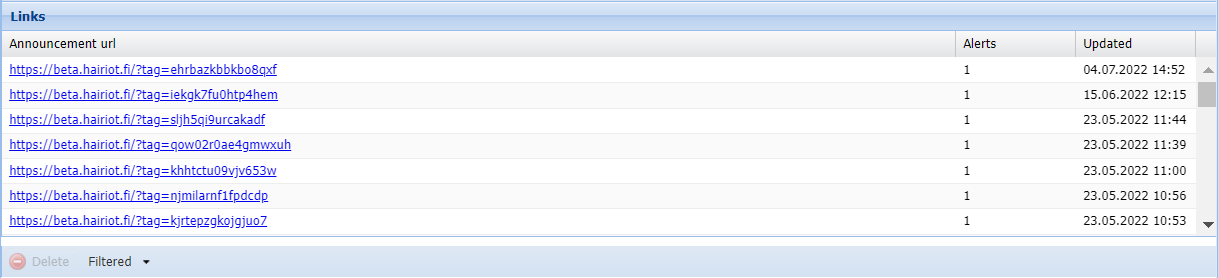
Links section
In the Links section, you can see the alert links, the number of alerts, and the dates for alert updates.
DeleteSelect a link and click Delete to delete the link. The program will ask you to confirm the deletion. After the deletion of the link, the alert will no longer be displayed on the public alert information website.
FilteredUse the Filtered menu to select whether the Links section displays only the link for the selected alert (Filtered) or the links of all alerts (All).
Quick buttons on the form
The quick buttons in the top-right corner of the Alertsform include the following functions:
You can minimise the form to the Favorites bar by clicking  .
.
The Reload config button is useful when the Alertsform cannot connect to a server. In this case, you can see the
  symbol in the top-left corner of the form. The settings have been reloaded when you can see the symbol
  .
.
The Zoom to operational area button centers the map to your operational area.
Click Show tenant URL to open an alert map, which displays all alerts with the status Open and In progress.
Click to close the form.
Sharing information concerning disruptions
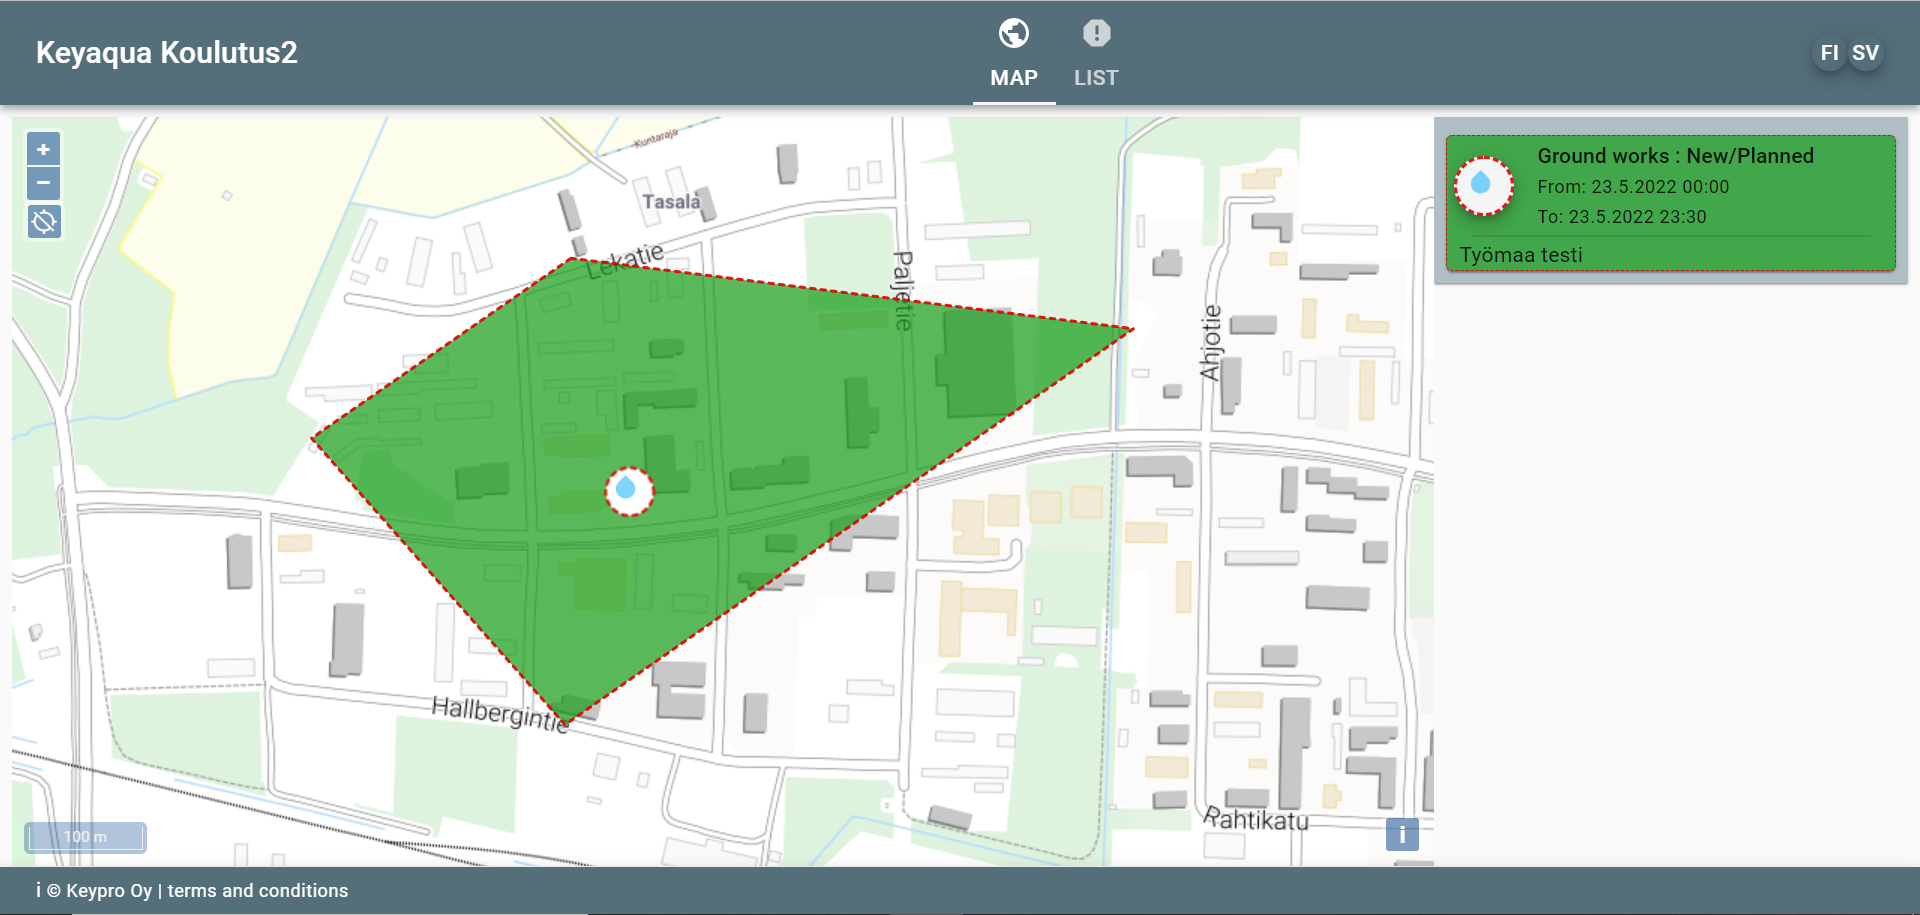
The Alerts tool is linked to a separate public website on which the actual information sharing takes place. The link to the Alert information website can be published on the websites of operators. Alerts can be customer- and operator-specific with information including the affected services, the start time, the estimated repair time, the affected area, and phone numbers for on-call technical support.
An example of a public alert information website.
Customers located in the affected areas can also be informed by using text messages, which can include a link to the alert information website. Further information is available in the Linking alert information sites to text messages chapter.