The forms for managing point objects are:
Telecom premises
Splice
Manhole
Other objects 
Pole
Streetlight 
Premises
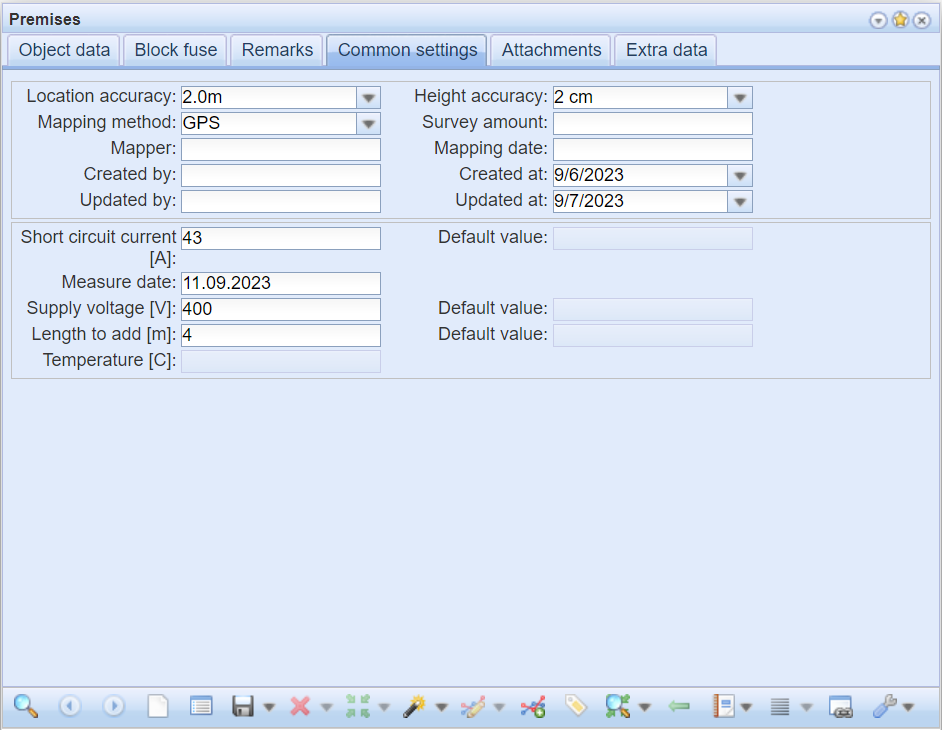
Use the Premises form to search for, edit, and add premises in the system. The required values on the form are displayed in yellow. For descriptions of the standard functions at the bottom of the form, see Buttons on object forms.
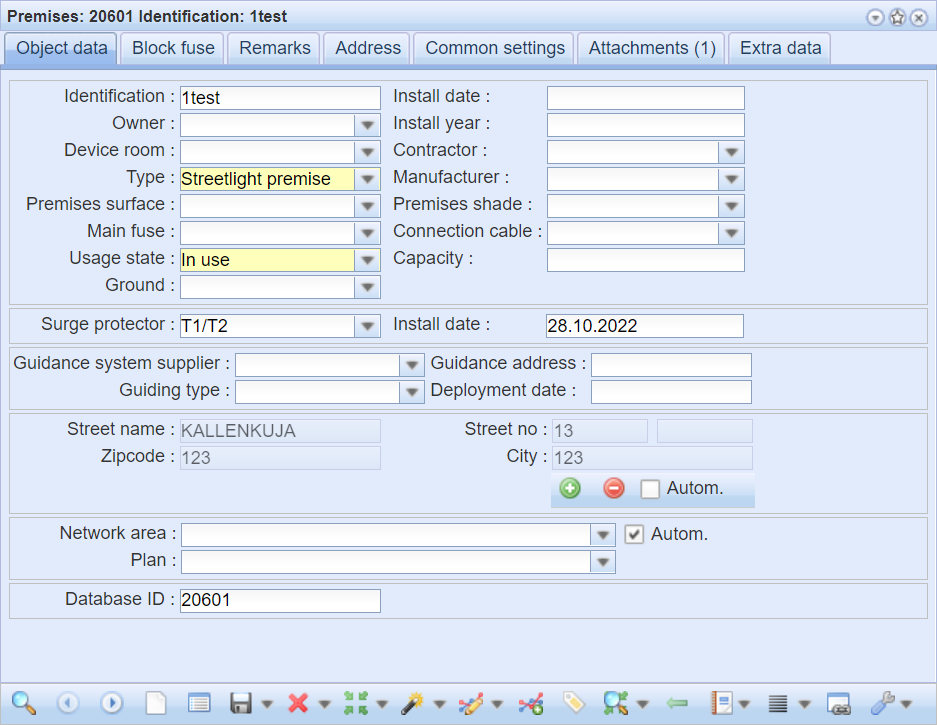
Premises outputs – Block fuses/Fuses
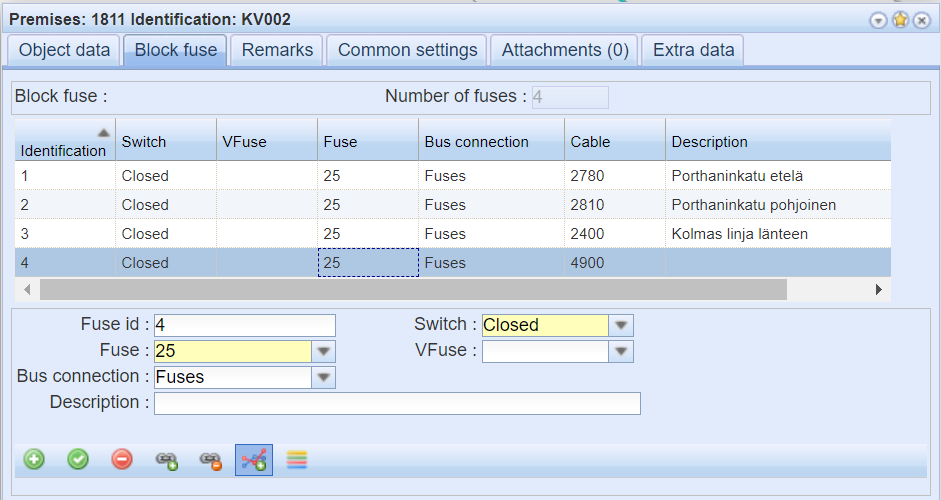
The Block fuse tab lists the outputs in the premises and their fuse details. When the output data is activated with the left mouse button, it also appears in the fields and drop-down menus, allowing you to edit and update it and then save by clicking Save changes  .
.
Click Delete  to delete the active fuse. You can add new outputs by filling in their details in the fields and drop-down menus and then clicking Add
  .
.
To connect a network map cable to premises output, click Connect to cable  . Select the desired cable on the map with the left mouse button and then double-click the correct cable in the Object selection window. If the connection is successful, the ID of the connected cable will appear in the Cable column of that row. If the cable is located too far from the premises, you will get the notice: Connecting the fuse to the cable failed. If the premises are not connected to the cable, you will also get the notice: Open the cable form and connect the cable to the premises. In this case, follow the instructions. For more information about the connections, see Connecting cables.
You can disconnect a connection with the Disconnect connection  button, removing the cable ID from the list. Please note that the changes always apply to the output whose data is active and is displayed in the fields at the bottom of the form! You can specify a free-form description of the output, for example, indicating the direction of the output.
The Show in group display  button lists the block fuses and fuses in the premises. Group display and its features are discussed in more detail in the chapter Group display.
Highlighting a single output
When a cable is connected to a fuse (premises output) and you select the corresponding row on the list, the output’s cable is highlighted in the map window. If the network connections are in order, then all cables related to the output through the connections are highlighted on the map.
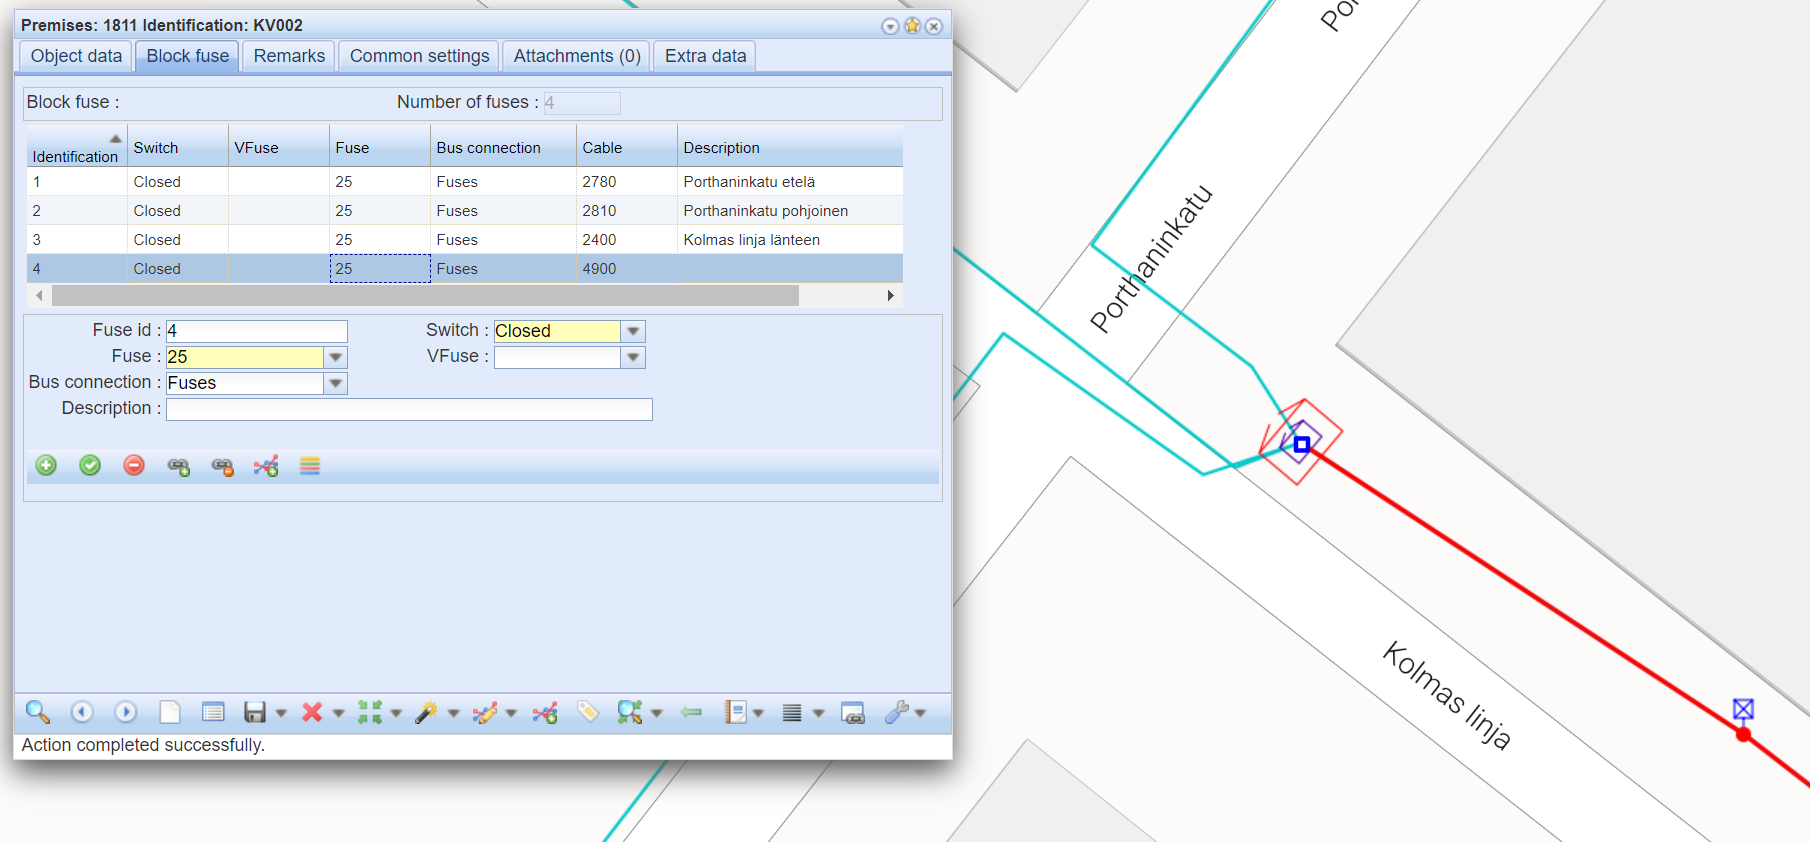
Highlighting multiple outputs; group listing
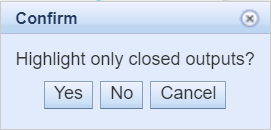
To highlight all outputs in the premises, retrieve the data of the premises to a form and then click Highlight premises’ outputs  . The program opens the Confirm window, prompting: Highlight only closed outputs? Click Yes to highlight only the fuse-links/fuses with a Switch set to Closed.
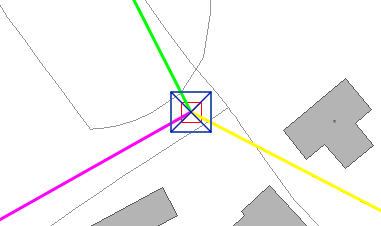
If you click No in the Confirm window, every output in the premises is highlighted with a different color regardless of the Switch state.
In the submenu of the Highlight premises’ outputs  button, you can also find Highlight all premises outputs, which highlights on the map the outputs of all premises retrieved to the form. The outputs of different premises are highlighted with different colors.
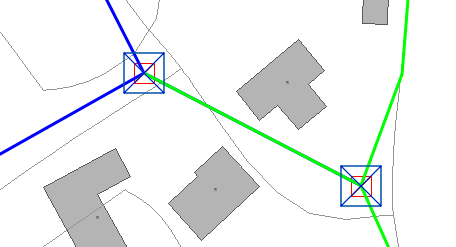
The Show premises outputs in groupdisplay feature highlights all outputs in of the premises on the map and shows the Group display.
The Show all premises outputs in groupdisplay function highlights on the map the outputs of the premises retrieved to the Premises form and shows their Group display. Note! The group display will not be shown if the search set is very large.
Group display and its features are discussed in more detail in the chapter Group display.
Short circuit current calculation of premises outputs
The short circuit currents in premises outputs are calculated in the short circuit calculation. The calculation starts on the Block fuse tab on the Premises form. Select the output on the form list for short circuit current calculation. The output will also be highlighted in the map window. To start the calculation, left-click the following function on the toolbar in the middle of the form: Calculate short circuit current  .
.
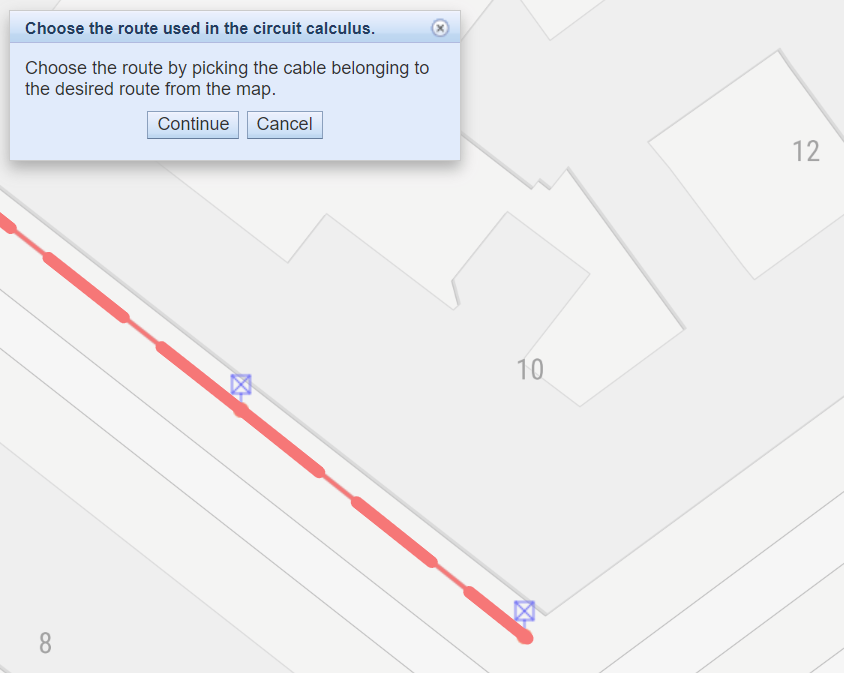
The program will highlight the branches of the selected output in different colors if there are more than one branch. The user will indicate which branch they want to calculate.
The program highlights the selected branch and calculates the short circuit current. The results are displayed on the form that appears. You can print an Excel table of the calculation results by clicking pressing Yes on the form that appears.
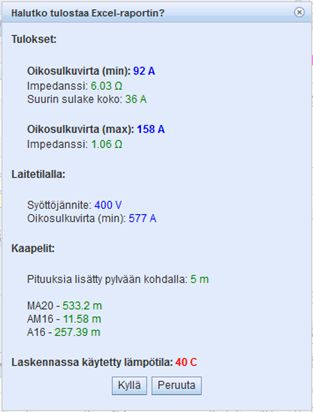
The minimum and maximum short circuit current are calculated in the calculation. Based on the minimum short circuit current, the program calculates the maximum fuse rating possible for the output. If the output fuse has a higher rating, the program will issue a warning that the output fuse has too high a rating. If the electrical values of the cables are not specified, the program will issue an error message.
Initial values for calculation
An admin user can save the types of cables used and their technical values in the system. The short circuit current of the network supplying the premises (outdoor light centre) must be verified as the starting point for the calculation, for example by measuring. The Short circuit current (A) of the supply network is saved as the starting value for the calculation on the Common tab of the Premises form. A short circuit current can be configured in the system as a default value that will be used if no supply network short circuit current has specifically been saved for the premises.
Other initial values specified in the system for calculation (an admin user can configure the default values):
- Supply voltage (V): usually 400
- Length to add (m) to be allocated to the cable, e.g., 5 (meters per pole)
- Temperature (C): e.g., 40
The user may change other values listed above, except for the calculation temperature.
Splice
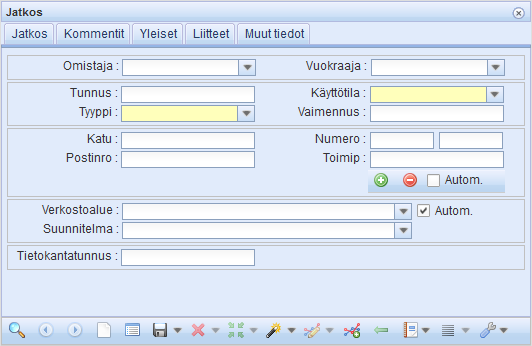
Use the Splice  form to search, edit, and add splices in the system. Required values on the form are displayed on a yellow background. For more information about the common functions of the form, see Buttons on object forms.
Manhole
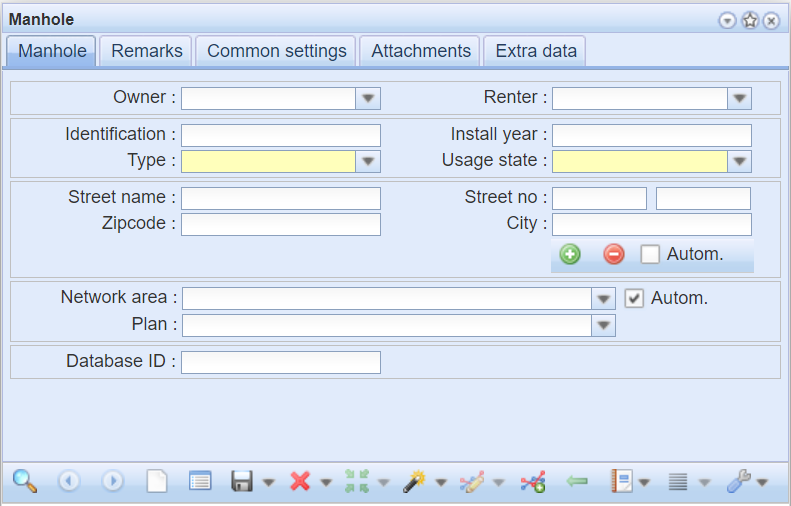
Use the Manhole  form to search for, edit, and add manholes in the system. Required values on the form are displayed on a yellow background. For more information about the common functions of the form, see Buttons on object forms.
Other objects
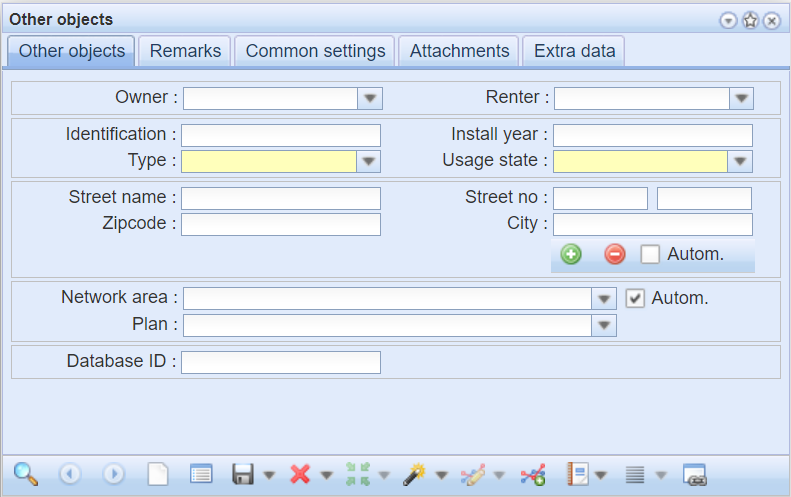
You can use the Other objects  form to place different point objects on the map. Other objects include Cable end in the ground, Plate, Earth rod, Billboard and Gantry. The required values on the form are Type and Usage state. For more information about the common functions of the form, see Buttons on object forms.
Pole
The Pole form is used for managing poles in the system. You can add, modify, and delete poles in the system. For more information about the common functions of the form, see Buttons on object forms.
The Pole form contains two tabs for pole information: Pole and Tower body/Base. The Pole tab contains information on the pole, warranty, and connection enclosures, as well as a list of the streetlights related to it. The program calculates the Warranty expiry date from the values in the Change date and Warranty period (months) fields. The warranty periods are updated and removed on the form when you also click the Save  button. On the Tower body/Base tab, you can enter information about the tower body and the base.
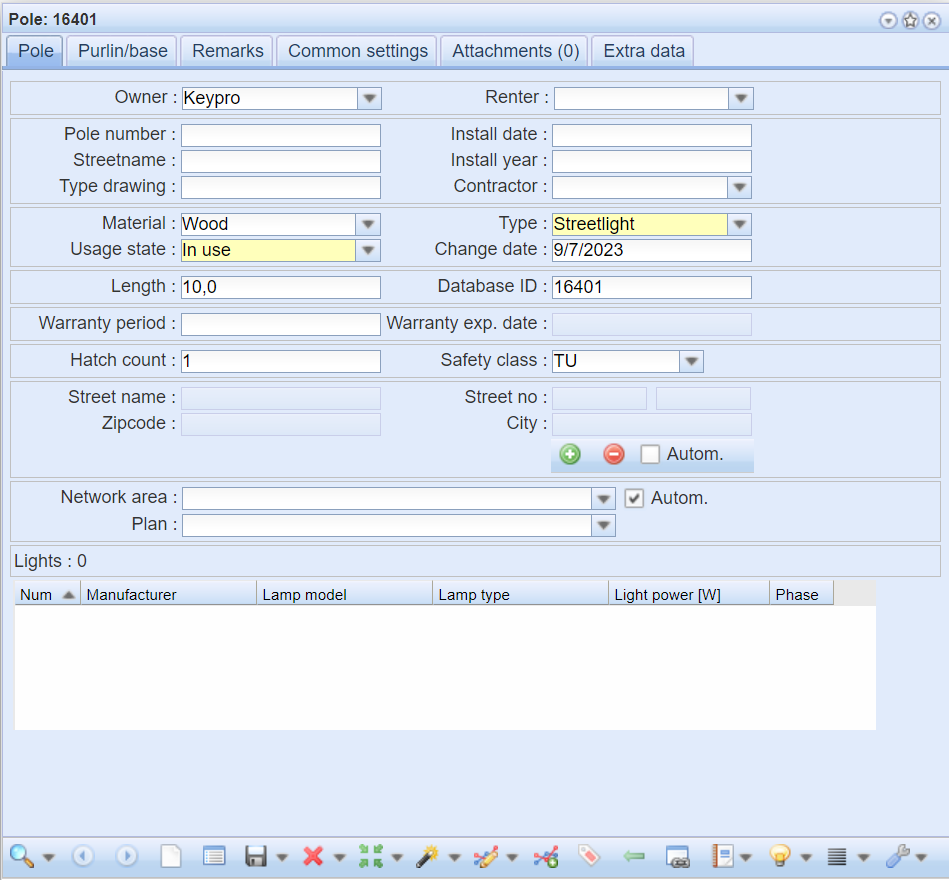
The Streetlights list contains the streetlights associated with the pole. You can open a streetlight on its form by double-clicking the desired streetlight on the list.
Filtering poles based on streetlight
You can view the poles of a desired area or street section based on their streetlight.
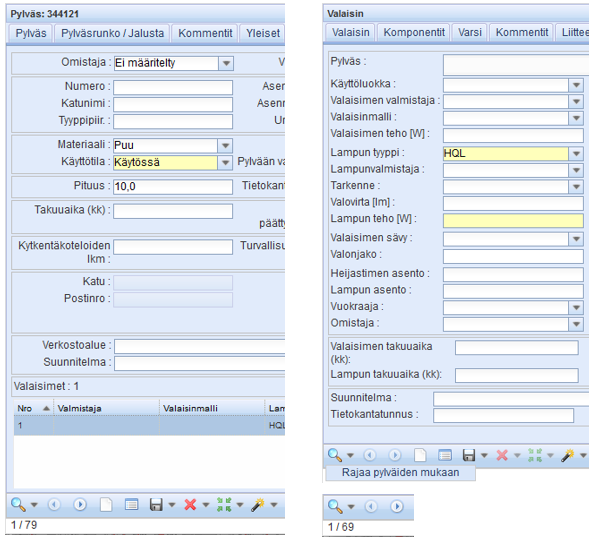
- Retrieve the poles of the desired area to the Poles form with the Pick from map
 feature (79 pcs).
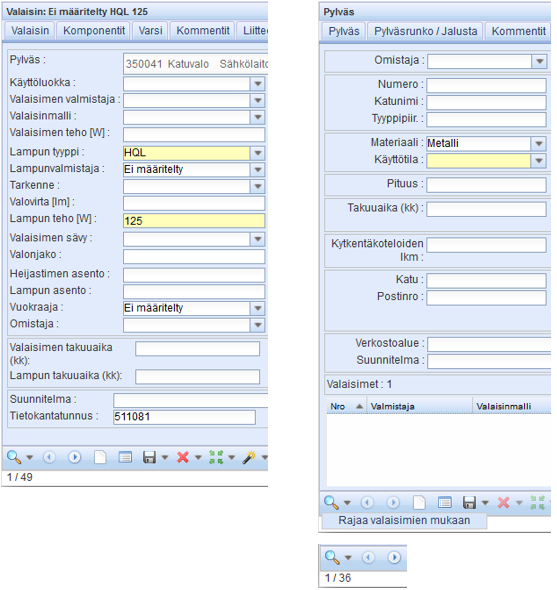
 - On an empty Streetlight form, specify the search criteria according to which you want to select the poles. The search criterion in the illustration is Streetlight type = HQL.
- Click the Filter by streetlights in the drop-down menu of the Search
 button on the Streetlight form.
 - The result set is now all the poles (69 pcs) retrieved to the Pole form, shown on the Streetlight form, meeting the search criteria you have specified (HQL) for the streetlight.
Tower body/Base
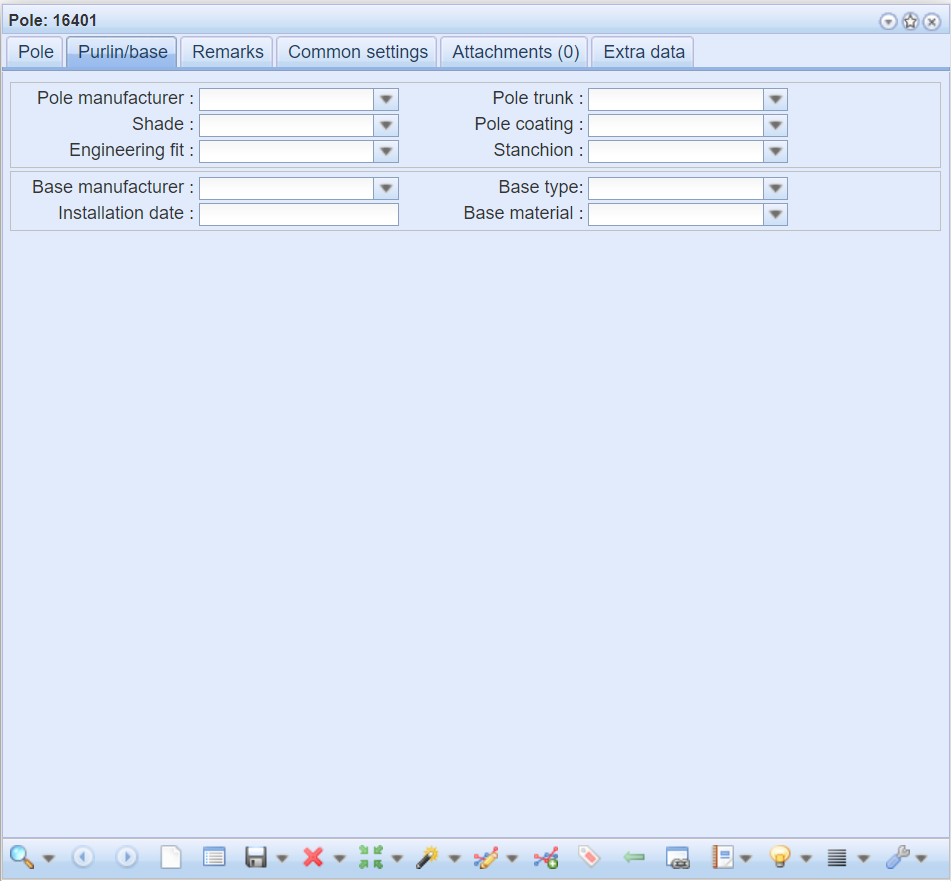
On the Tower body/Base tab, you can save data related to the pole base or the tower body. Select a manufacturer from the drop-down menu in the Pole manufacturer field to filter the options in the Tower body field accordingly. The same applies to the Base manufacturer and Base type fields.
You can select multiple options in the Tower body and Base type fields, allowing you to specify several tower bodies or base types for a single pole according to its manufacturer.
Streetlight
The Streetlight  form is used for managing streetlights and lamps in the system. You can add, modify, and delete streetlights in the system. For more information about the common functions of the form, see Buttons on object forms.
To add a new streetlight, click the Streetlight  button in the KeyLight network tools or on the Pole form. A Streetlight form opened from the Pole form is pre-completed with the pole data. The required data for a streetlight are the Lamp type and Lamp power (W). You can create a streetlight in the system and place it on the map without a pole.
If you want to edit the information of an existing streetlight, you must first load the streetlight to the form using the form’s Search  function or the Pick from map
  tool. Once the streetlight has been loaded onto the form, you can update the details you want and then save with the Save
  button.
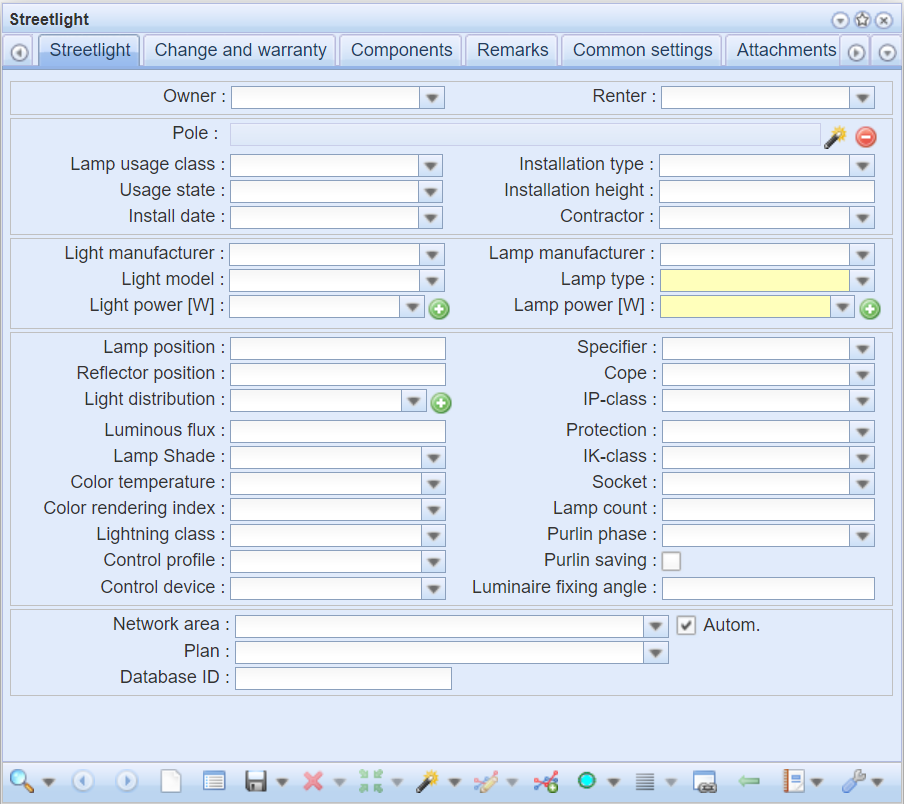
The Streetlight tab is used for managing information related to the characteristics of streetlights and lamps. You can associate streetlights to a pole, network area, or plan.
On the Change and warranty tab, you can specify a warranty period for the streetlight and lamp. The program calculates the Warranty expiry date from the values in the Lamp replacement date and Lamp warranty period (months) fields. The warranty expiry date is calculated for streetlights using the streetlight’s date of installation (Streetlight tab) and Light warranty period (months) values. The warranty periods are updated when you click the Save  button.
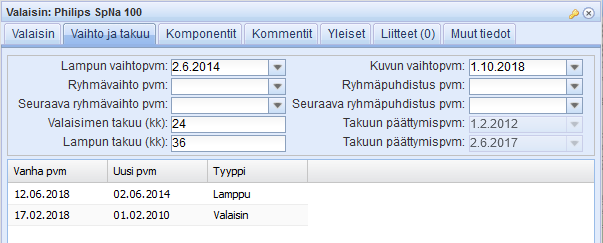
On the Components tab, you can save any components related to the streetlight and their properties. The tab also displays information related to the arm material and type and its installation.
On the Attachments tab, you can add and manage attachments, such as pictures and documents.
On the Other tab, an admin user may have configured variables and their values.
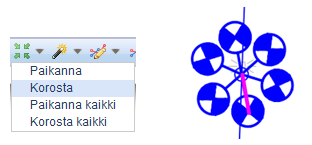
If a light point has several streetlights, you can determine the streetlight active on the form using the Highlight feature in the Locate  tool in the bottom toolbar. This feature highlights the directional line of the arm of the active streetlight.
Adding a streetlight to a pole
Open the Streetlight  form. A Streetlight form opened from the Pole form is pre-completed with the pole data. If you open the form via the KeyLight toolbar, load the pole with the Get pole tool, and the program will ask you to select the object on the map. To detach a streetlight from a pole, click the Detach from pole
  button.
Tip: You can add a streetlight to the map without a pole. In this case, the Pole field on the Streetlight form is empty.
First specify the type and power of the lamp on the form, which are required elements. Associate the streetlight with the pole with the Save  button.
The functionality of the Streetlight power and Lamp power fields differs from other fields. When you start entering a numeric value on the form, the program will start listing options. The content of the list will change as you type in more digits. Select the power value you want from the list. If the list does not contain the power value you want, write the value in the field and save it in the system with the Add lamp power  button.

Replacing a single streetlight or a group of streetlights
For individual lamp changes, the Lamp replacement date is updated in the Lamp replacement date field on the Streetlight form. This field is also updated with a single lamp replacement updated in the KeyUV Outdoor lighting failure information system, if both the KeyUV and KeyLight systems are in use.
A lamp’s group replacement date is updated on the Streetlight form’s Group replacement date field. The streetlight may be updated with a value either individually or as a mass update for all streetlights retrieved to the form. The Mass update feature is described under Mass update (Update all tool).
Moving and rotating streetlights
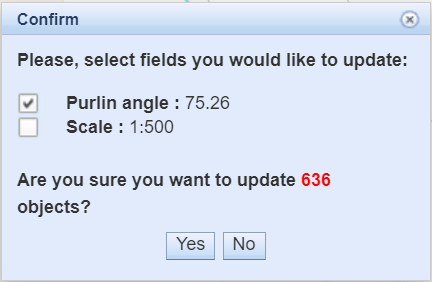
The direction of the lamp, i.e., its arm, can be adjusted with the Rotate function in the drop-down menu of the Modify  button. The button opens the Rotate window. The use of rotation is described under Rotating a point object. You can mass update the direction of the arm of several streetlights by retrieving the set of streetlights to be updated on the form and rotating it to the desired angle and then clicking Update all (in the drop-down menu of the Save button). The program asks you to confirm the fields that are updated. Select either Angle: Set to set the angle of all streetlights to, for example, 45 degrees, or Angle: Add to add 45 degrees to the original streetlight angle.
You can move a streetlight on the map with the Modify  function. However, the move will not succeed if the streetlight is connected to a pole, in which case the pole must be moved, and the streetlight will move with it. Alternatively, you can detach a streetlight from a pole by clicking the Detach from pole
  button.
Filtering streetlights based on the pole
You can view the streetlights of a desired area or street section based on their pole.
- Retrieve the streetlights of the desired area to the Streetlight form with the Pick from map
 feature.
 - On an empty Pole form, specify the search criteria according to which you want to select the streetlights. For example, the search criterion can be the pole Material.
- Click the Filter by Poles in the drop-down menu of the Search
 button on the Pole form.
 - The result set is now all the streetlights retrieved to the Streetlight form, shown on the Pole form, meeting the search criteria you have specified for the pole.
In the figure below, 49 streetlights retrieved to the Streetlight form. On the Pole form, set the search criterion to Material (Metal). Filter the search by streetlight, resulting in 36 streetlights in the search area where metal is the pole material.
Filtering streetlights and poles in the Pick from map function
You can limit the search sets on the Pole and Streetlight forms with the other form’s search criteria in the Pick from map  function. For example, if the Pick from map function has been started via the Streetlight form and you are picking objects from the map, you can check the Use form criteria checkbox to retrieve objects from the map that meet the search criteria you have set, or you can check the Filter by pole checkbox, so that the search is filtered according to the poles retrieved to the Pole form. You can set the Pick from map function to retrieve items according to the criteria in both checkboxes. Correspondingly, the Pick from map functions also work on the Pole form, allowing for filtering by streetlight. The forms talk to each other once poles and streetlights or their search criteria have been retrieved to both forms.
In the figure below, select from the map according to the form’s search criteria and/or the Filter by streetlight/pole options. In the illustration on the left, the Pick from map function has been started via the Streetlight form, while on the right, it has been started via the Pole form.
