Each KeyCom user is identified based on their personal unique username.
Creating new users
On the Admin site, go to the Users row in the Authentication and authorization group and click Add .
.

- Complete the Username and Password fields.
- Define an Expiration date if you want to limit the validity of the username.
- Click Save.
- On the displayed form, enter the first and last name of the user.
- If the user is authorised to export objects to external file formats such as AutoCAD, enter an Email address
- Define the access rights for the user as instructed in the Defining and modifying access rights for usernames chapter starting from step 2.
Defining and modifying access rights for usernames
Selecting user groups for the user:
- Select the username on the Auth>Users list.
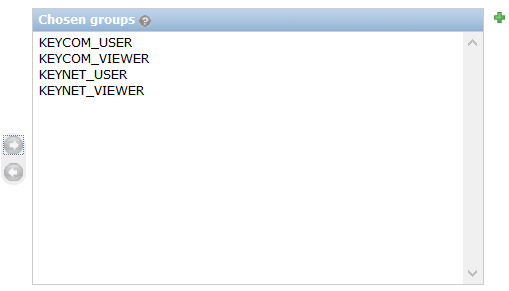
- On the Available groups list, select the user groups to which the user belongs.
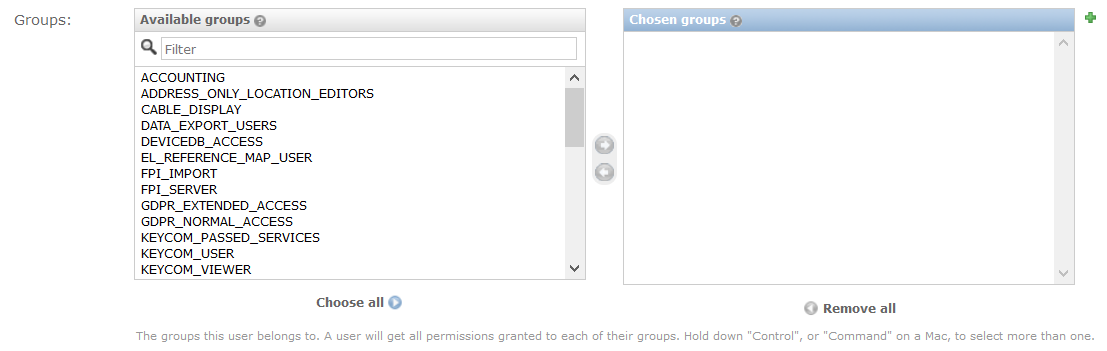
- Click the arrow button displayed between the lists to add groups to the Chosen groups list.
- You can define user-specific permissions in a similar manner.
- Savechanges.
Available user groups in KeyCom
The following user groups have been defined as default groups in KeyCom:
- KEYCOM_USER is a user authorised to add, modify and delete network objects.
- KEYNET_USER is a user authorised to use the KeyNet functions.
- KEYCOM_VIEWER is a user authorised to view network objects.
- KEYNET_VIEWER is a user authorised to view KeyNet data.
- DEVICEDB_ACCESS is a user authorised to use the device database forms that can be opened from the telecom premises form.
- CABLE_DISPLAY is a user authorised to view maps, duct route objects and cable objects.
- DATA_EXPORT_USERS is a user authorised to export data to another data format by using the export function.
- POWER_USERS is a group that will be removed. Use the KEYCOM_USER and KEYNET_USER groups instead.
- PREM_ADMIN is a user authorized to modify restricted telecom premises on Telecom premises form.
- READONLY_USERS_PLUS_ANNOTATION is a user with viewing rights and the right to create annotations.
- READONLY_USERS_PLUS_AREA is a user with viewing rights and the right to create areas.
- REFERENCE_MAP_USER is a user authorised to import files to the map by using the spatial upload function.
- ACCOUNTING is a user authorised to access the log-in data of users.
- MASS_DELETE is a user authorised to delete several objects at once. The mass deletion function of the application must be activated for this.
- MAIN_ACCESS is a user authorised to use the main application only. KEYCORE_IGNORE_MAIN_VIEW_ACCESS_GROUPS must not be in an active state in the application.
- VIEWER_ACCESS is a user only authorised to use KeyMobile. KEYCORE_IGNORE_MAIN_VIEW_ACCESS_GROUPS must not be in an active state in the application.
- KPI_REPORT is a user authorised to run KPI reports. (A customer-specific feature)
- GDPR_NORMAL_ACCESS is a user authorised to view customer data.
- GDPR_EXTENDED_ACCESS is a user authorised to view customer data and customer data of the “Private–restricted” type (see Customer types).
- OM_CIRCUIT_ADMIN allows updating of circuit sections and its related components when the usage state of the circuit section is in O&M (operations and maintenance) state. The KN_USAGE_STATE Numeric value 4 field tells if the circuit section usage state is in O&M state. Value of 1 means that the state is in O&M state. The OM_CIRCUIT_ADMIN group only allows the user to edit/delete circuits in O&M state on Circuit form and allows the user to use the Logical Mass Connection Change functionality. The group has no effect on other forms.
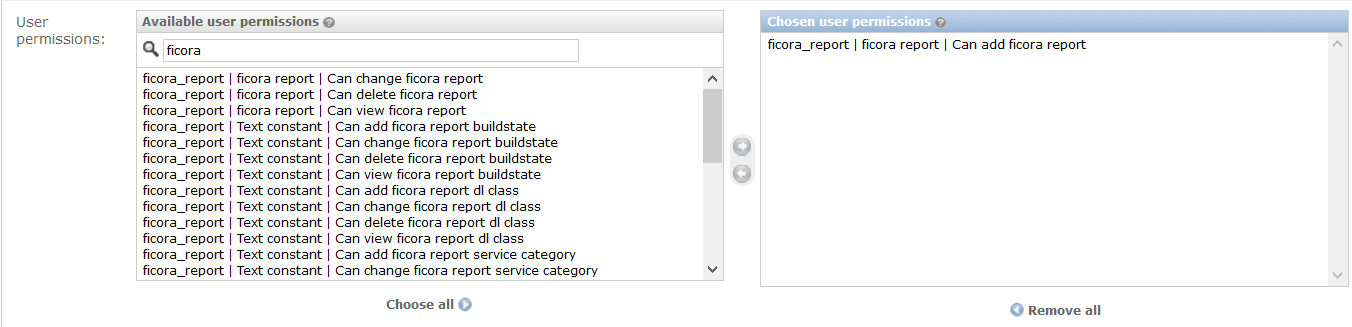
Ficora reporting rights
Users with Can add Ficora report added to the Chosen user permissions field (Figure 7) have Ficora reporting rights.
Defining two phased authentication for a user (optional)
If the two-phase authentication has been ordered as an additional service, the view for editing user data includes a section for User profiles for two phased authentication (Figure 8).
- Select the username on the Auth>Users list.
- Enter the phone number of the user to which the confirmation code will be sent.
- Select Enable two phased authentication.
- Save changes.

Deleting usernames
To delete an existing username, select the username on the Auth>Users list and click Delete on the displayed form.
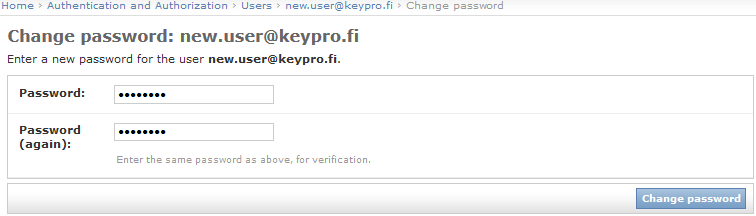
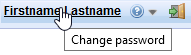
Changing user passwords
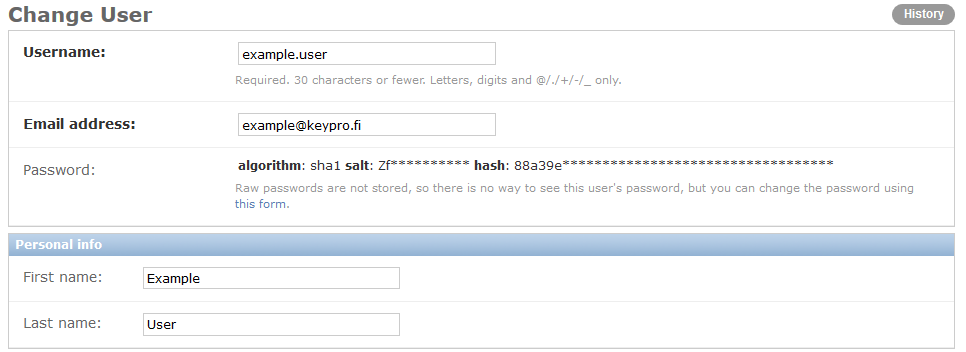
Users can change their own passwords through the link in the applications main view. Admins can change the passwords of a user on the Change User form by clicking the “this form” link.
For security reasons, passwords are stored in the system database with strong encryption, and not even admin users can view the passwords of users through the admin interface.