This article provides instructions on how to create new network objects in the KeyCom Nexus system.
Learn how to:
- Available network objects
- Basic structure of the object panes
- Creation of new network objects
- Handle drawing options and other features related to object creation
Network objects available
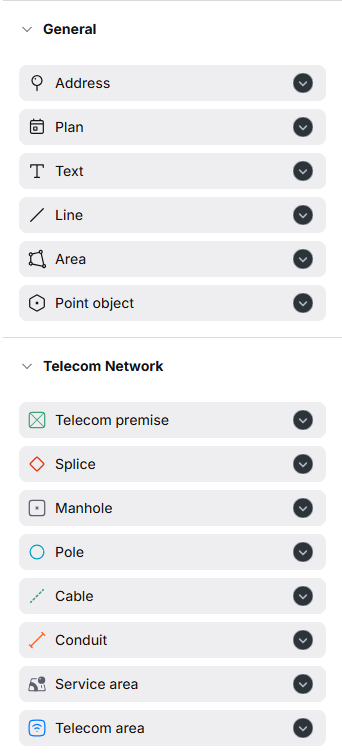
When you click the Create tool, Nexus displays a categorized list of object types that can be placed in the network. Each object type represents a specific asset; such as a duct, manhole, valve, branch or pumping station and opens an object pane where its geometry and properties can be defined.
Each object pane also adapts its contents based on the selected object type. For example, Telecom premises pane provides material and diameter selections and Conduit
 pane contains duct properties. Each object type mainly displays attributes that are relevant to documenting and managing that particular asset.
Objects are organized by network:
- General
- Telecom network
Layout of the object pane
Objects in KeyCom Nexus can be created through an object pane that opens when selected from the Createmenu or by selecting an existing object from the map. The object pane allows users to create objects, edit the object’s geometry, update property information, and manage related documents.
Although the available fields differ between object types, the function of the object pane remain consistent with and exception of the Structure tab. Each pane contains three or four tabs:
- Geometry – contains tools for creating and modifying an object’s geometry. The content varies depending on whether the object is a point, line, or area, but the workflow is similar for all geometry types.
- Details – contains all property information related to the selected object. Fields are grouped into sections that contain information related to the object. Mandatory fields are marked with an asterisk (*).
- Attachments – is used to store external documents related to the object. These may include installation instructions, inspection reports, field photos, permits, or any other supporting files.
- Structure (available only for telecom premises, conduits and cables) - contains additional information related to the selected object, such as device, connector and duct details and tools to manage them.
Creating a new object
There are several ways you can create new objects in the KeyCom Nexus system. You can start from scratch or you can use existing objects information as a base for the new object. Always select the correct object from Create menu. For example, use the Telecom premisespane to create a telecom premises, and the Area pane to create new area.
To create a new object in your network, follow these steps:
- Click Create from the KeyCom Nexus tools.

- Choose the correct object pane from one of the four drop-down menus.
- Specify the location of the object by defining its geometry on the map. Read more: Geometry of a line object, Geometry of a point object and Geometry of an area object.
- By selecting a network object from the drop-down menu, you are also able to edit information of a new network object you are drawing.
- Before clicking Create, ensure that all mandatory fields in the Information (marked with an asterisk (*)) are filled in:

Geometry of a line object
- Start defining the geometry of a line object by clicking the required starting point on the map using the left mouse button.
- Continue by digitizing each required point one at a time. Click the left mouse button at each location where the line should change direction or continue.
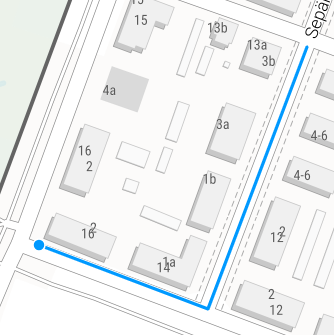
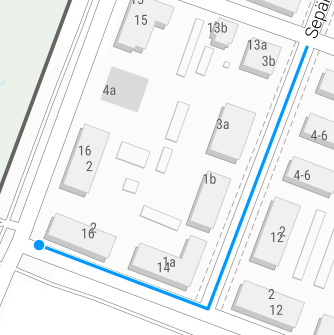
- Finally, end the digitization by clicking the left mouse button twice at point where you want your line object to end.
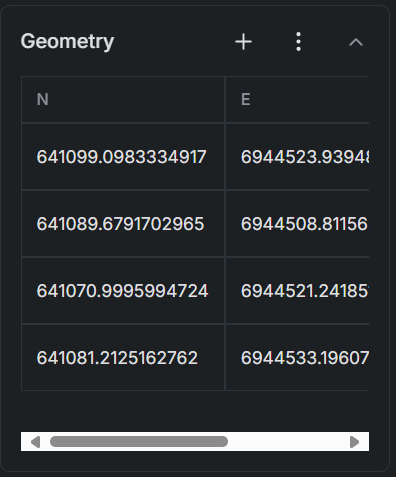
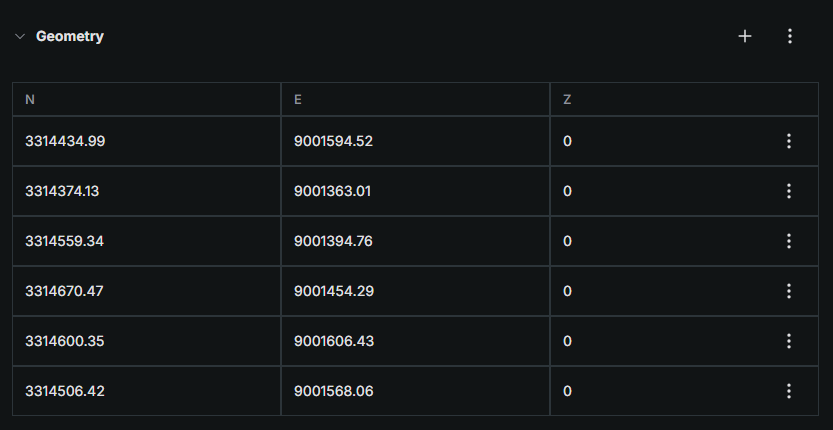
You can also place a line object on the map by entering its coordinates manually. At the top of the menu, you can add a new vertex to the geometry grid by clicking the plus (+) symbol. You can also import or export coordinates to and from the system as needed by clicking More options .
- Enter the longitude coordinate in the N field.
- Enter the latitude coordinate in the E field.
- Enter the height coordinate in the Z field
Drawing options of a line object
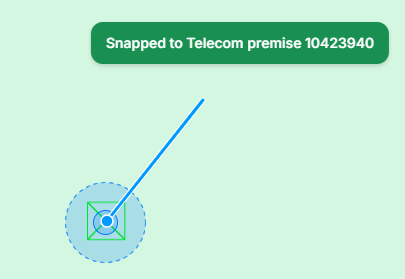
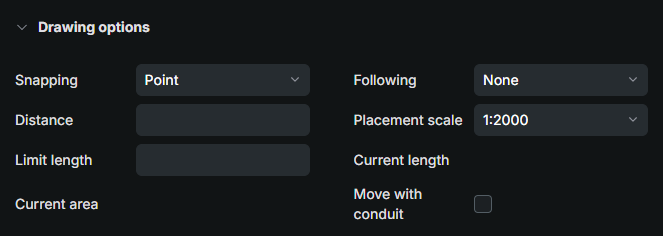
- From Snapping, you can choose whether the object you create snaps to another object’s point or the nearest point. When Point is selected, draw the end of the line object to the point object and left-click to snap it, then right-click to finish snapping and drawing:
- The Following function in the Drawing options allows line objects to follow existing elements, like other line objects.
- When you select Complete under the Following option, you can point to the starting point of a line object. The line object will then automatically follow the entire path of the duct and continue digitization from its endpoint.
- If you only want the line to follow part of the line object, choose the Partially option. This lets you follow the duct up to a specific point, after which you can continue digitizing freely.
- To follow a line parallel to an object at a defined distance, specify the desired Distance in the drawing settings.
- Current length: Shows the current length of the line object.
Geometry of a point object
Define the geometry of a point object by clicking the left mouse button at the required location on the map.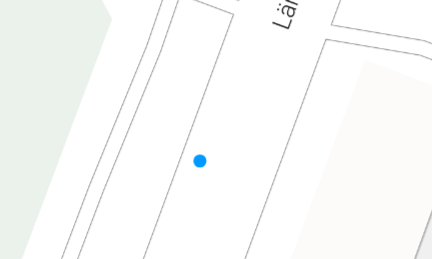
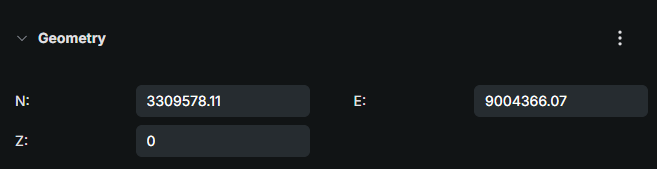
You can also place an object on the map by entering its coordinates manually. You can also import or export coordinates to and from the system as needed by clicking More options.
- Enter the longitude coordinate in the N field.
- Enter the latitude coordinate in the E field.
- Enter the height coordinate in the Z field.
Drawing options of a point object
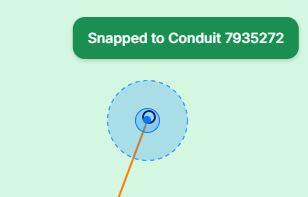
- From Snapping, you can choose whether the object you create snaps to another object’s point or the nearest point. When Point is selected, place the point object on top of the end of the line object and left-click to snap it, then right-click to finish snapping and drawing:
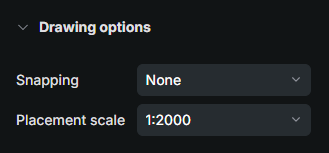
- From the Placement scale menu, choose the desired scale for object creation. New objects will be sized proportionally according to the selected scale, ensuring they appear correctly in outputs such as printouts—for example, at a 1:2000 scale, individual objects will be clearly visible:
Geometry of an area object
- Start defining the geometry of an area object by clicking the required starting point on the map using the left mouse button.
- Continue by digitizing each required point one at a time. Click the left mouse button at each location where the area should change direction or continue.
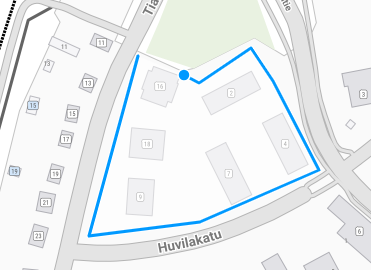
- Finally, end the digitization by clicking the left mouse button twice at point where you want your line object to end.
You can also place an area object on the map by entering its coordinates manually. At the top of the menu, you can add a new vertex to the geometry grid by clicking the plus (+) symbol. You can also import or export coordinates to and from the system as needed by clicking More options.
- Enter the longitude coordinate in the N field.
- Enter the latitude coordinate in the E field.
- Enter the height coordinate in the Z field
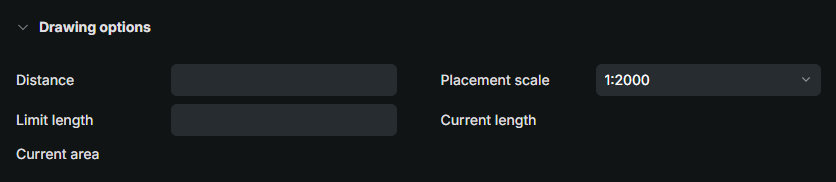
Drawing options of an area object
- Current area: Shows the current size of the area.
Start and end node information
Connections shows the point objects that the line object is connected to at its beginning and at its end. Click Open form to open the details of the connected object.:

- Beginning connection: The point object connected to the beginning of the line object, for example a manhole.
- Ending connection: The point object connected to the end of the line object. The field is empty if the end of the line is not connected to any object.
Catalogs
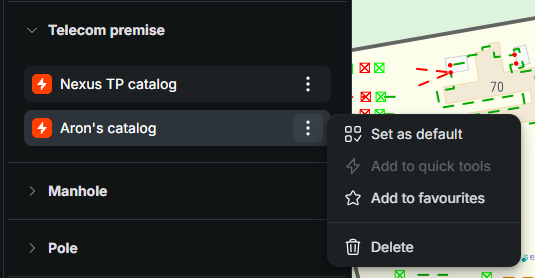
You can save object values as a template and apply them later. All saved templates are stored on the Catalog tab. You can manage existing templates using the following options in the drop-down menu:
- Set as default – Sets the selected template as the default template. When you create a new object, the template values are automatically applied in the pane.
- Add to favorites – Adds the template to your favorites for quick access.
- Delete – Removes the template from the Catalog.
Creating a new template
- To create a new template enter the desired values in the pane fields. Fill in at least the mandatory fields marked with an asterisk (*).
- When the required information has been entered, select Save as catalog from the Actions drop-down menu:
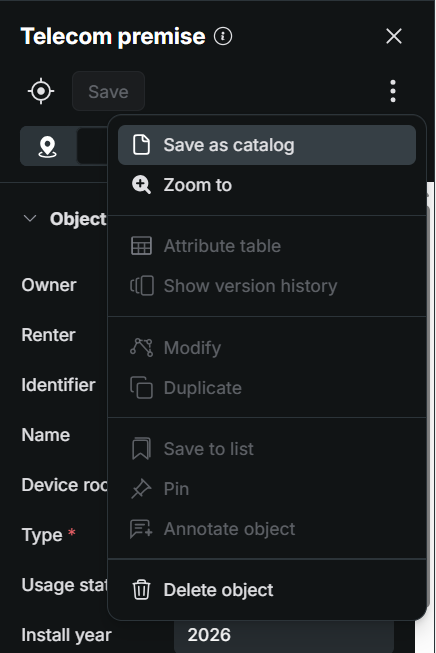
- After the template has been saved, it becomes available on the Catalog tab, where it can be selected and applied when creating new objects.
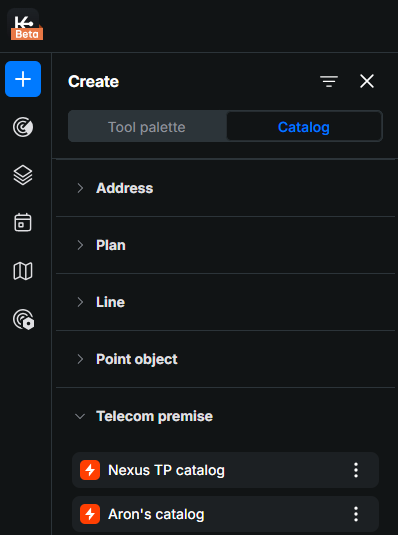
Telecom network objects
Telecom network objects are the objects that make up the telecom network in KeyCom Nexus. They are divided into point objects (telecom premises, splices, poles and manholes), line objects (cables and conduits) and area objects (service areas and telecom areas).
The object panes work in the same way as the panes of other objects of the same type. For the basic functions, see sections Layout of the object pane and Creating a new object. This section describes what is specific to telecom network objects, such as managing devices and connectors in telecom premises, threads in cables, and ducts in conduits.
Telecom premises
In KeyCom, the Telecom premisesobject refers to a point object that may be connected to equipment and cables. In addition, house cabinets and manholes are typically also considered telecom premises. Telecom premises also include the devices that are documented in the system. The layout and the basic functions of the Telecom premisespane are the same as those used for managing other point objects. More information on the basic functions is provided in section Layout of the object pane and Creating a new object.
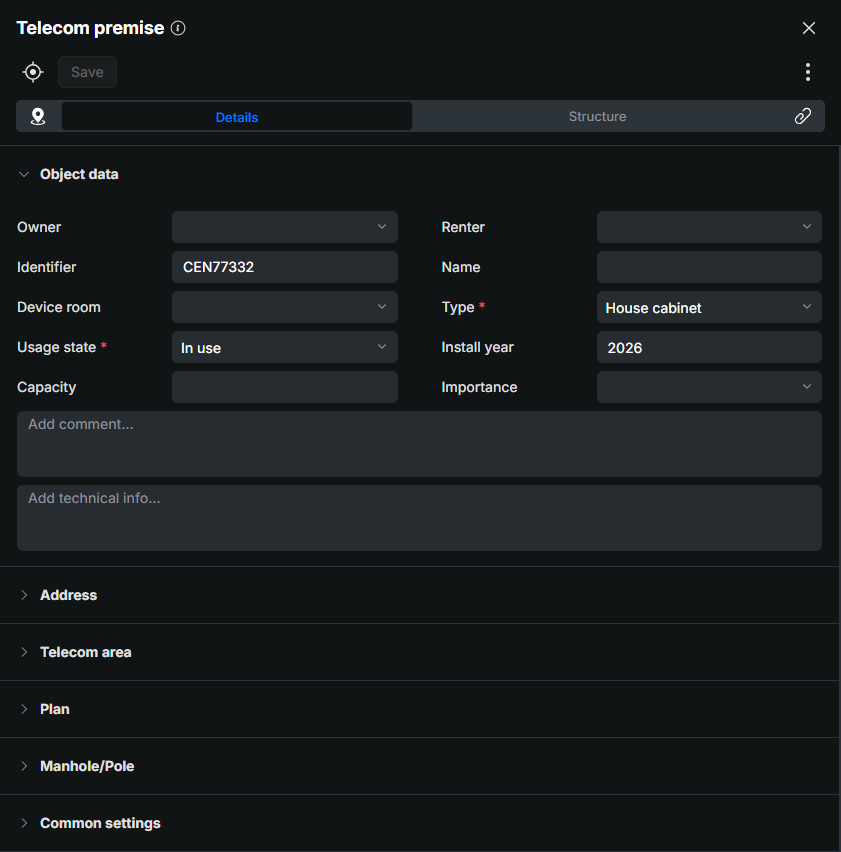
Devices
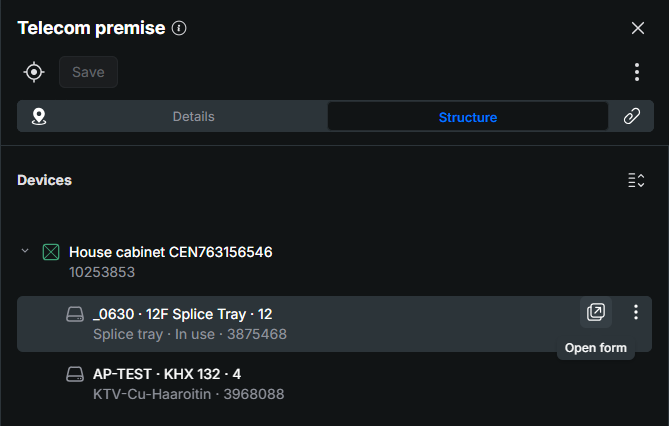
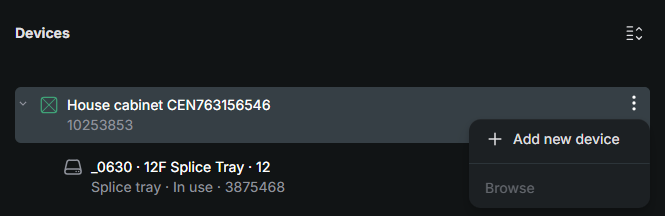
You can view the devices of telecom premises on the Telecom premisespane's Structure tab. The Devices displays a list of the telecom premises on top and its devices in a tree-like list under it. Use the drop-down menu to view and hide the devices on the telecom premises in question. You can view more detailed information on a device by clicking Open form:
A separate Device pane for managing devices then opens:
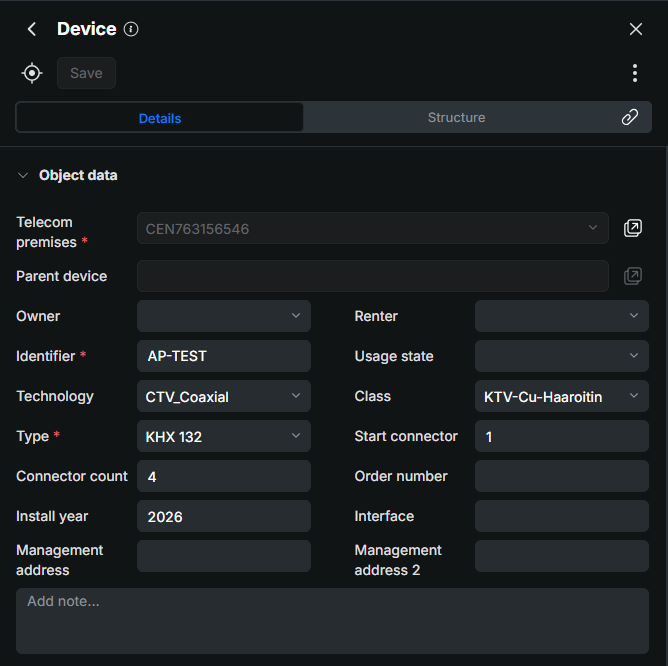
To return to previous view (Telecom premisespane), click < symbol at the top of the pane.
Adding a new device to telecom premises
On the Devices, select the Telecom premisesor an existing Device for which you want to add a sub-device.
- Click More actions button and select +Add new device or + Add new sub-device to open the Devicepane:
- Enter the property values. Identifier and Type are mandatory fields.
- Click Create to add the new device to the selected telecom premises.
Removing a device from telecom premises
- Choose the device you want to remove from the Devices list for the telecom premises.
- Click Open formto open the Devicepane.
- From Actions choose Delete object
 .
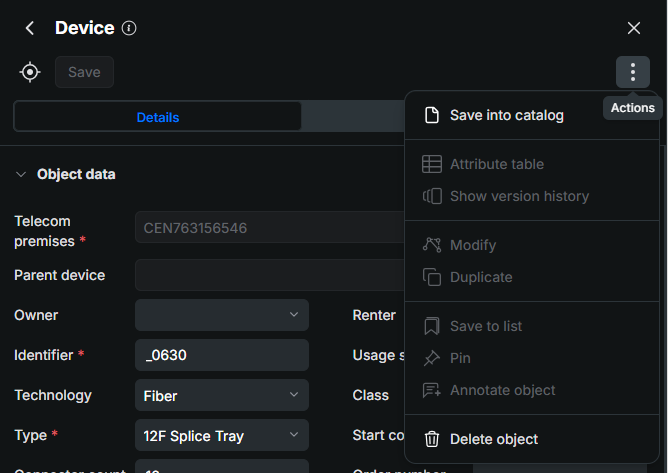
- Confirm the removal to remove the device in question.
You can't remove a device to which sub-devices are connected to.
Managing connectors
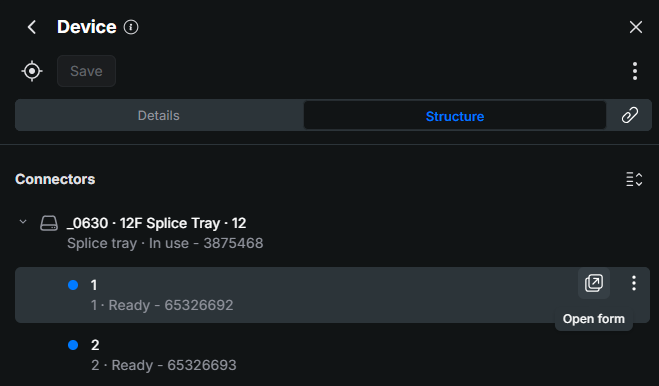
Open the Structure tab on the Devicepane. The Connectors list displays the device and its connectors. You can view more detailed information on a connector by clicking Open form:
A separate Connector pane for managing connectors then opens, you can only edit the connectors information:
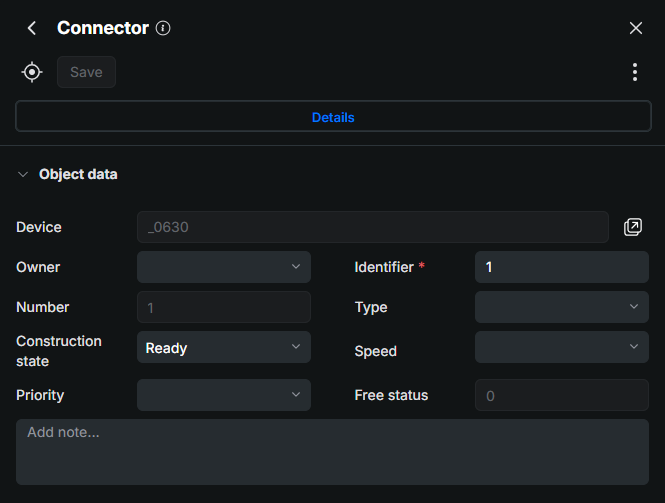
- Save any changes by clicking Save.
- To return to previous view (Devicepane), click < symbol at the top of the pane.
Splices
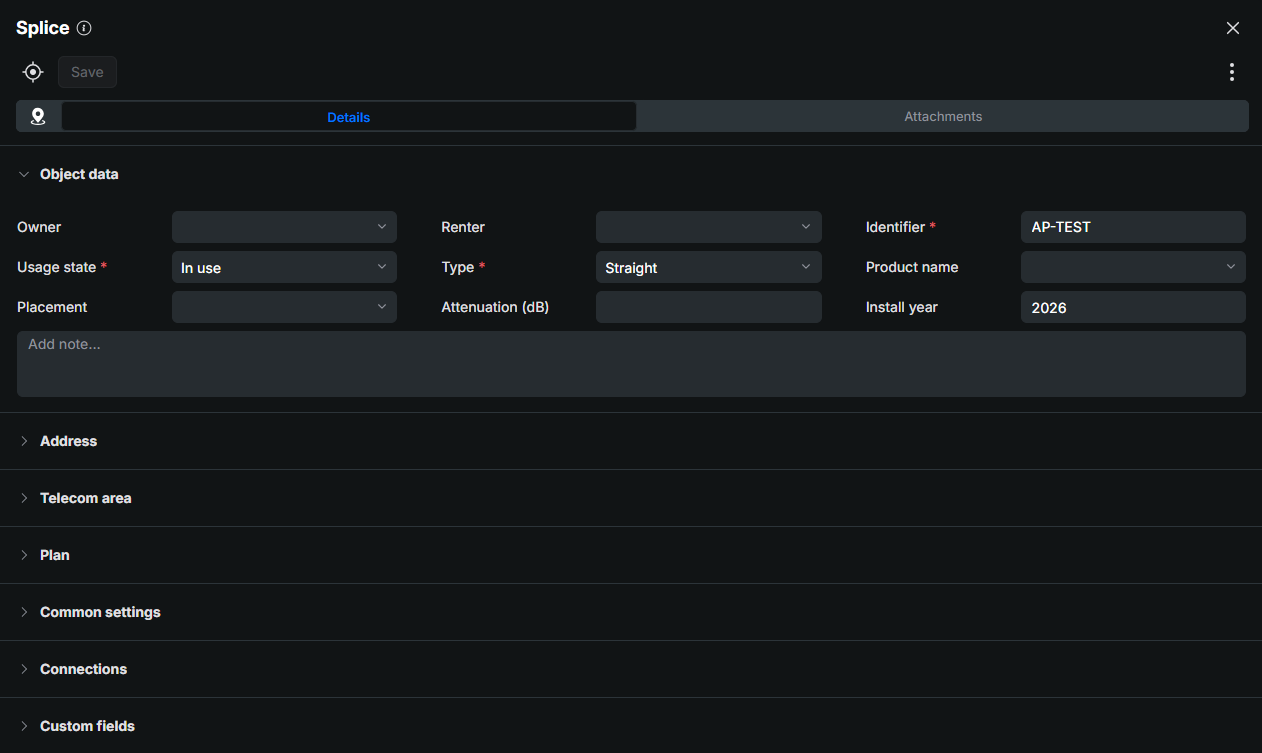
The Splices pane functions mainly in the same way as described for other point objects in the sections Layout of the object pane and Creating a new object.
Poles
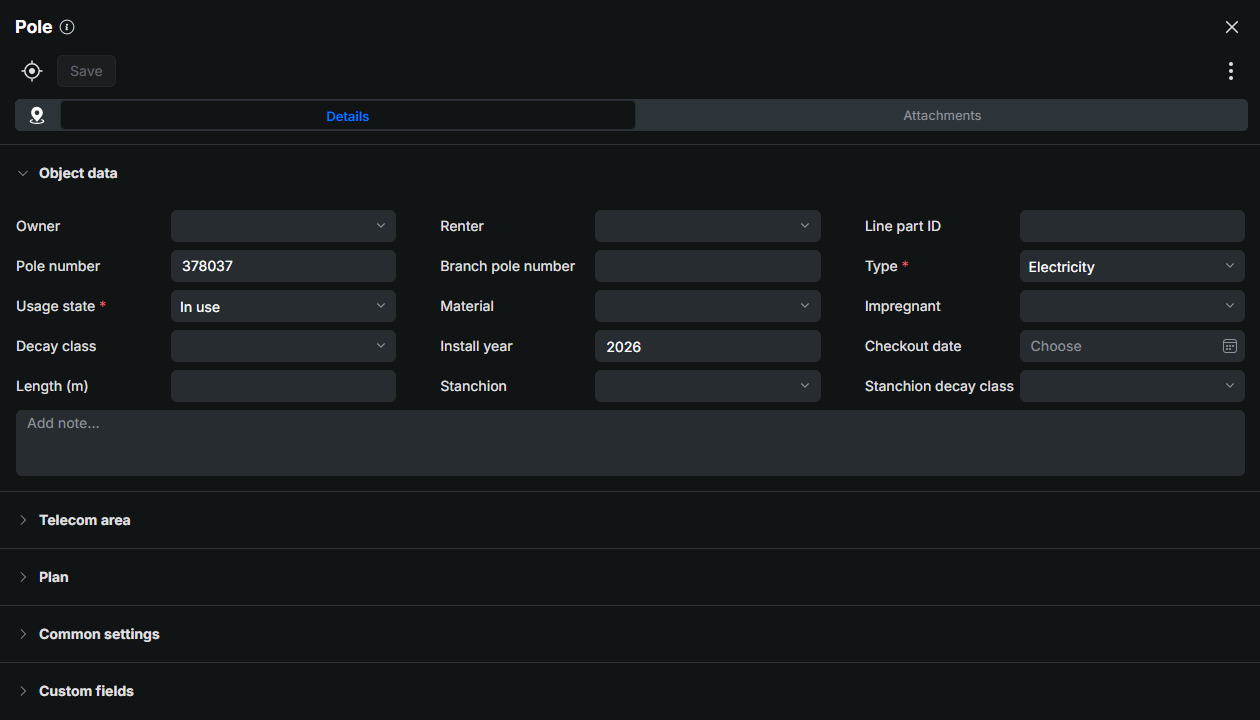
The Pole pane functions mainly in the same way as described for other point objects in the sections Layout of the object pane and Creating a new object.
Manholes
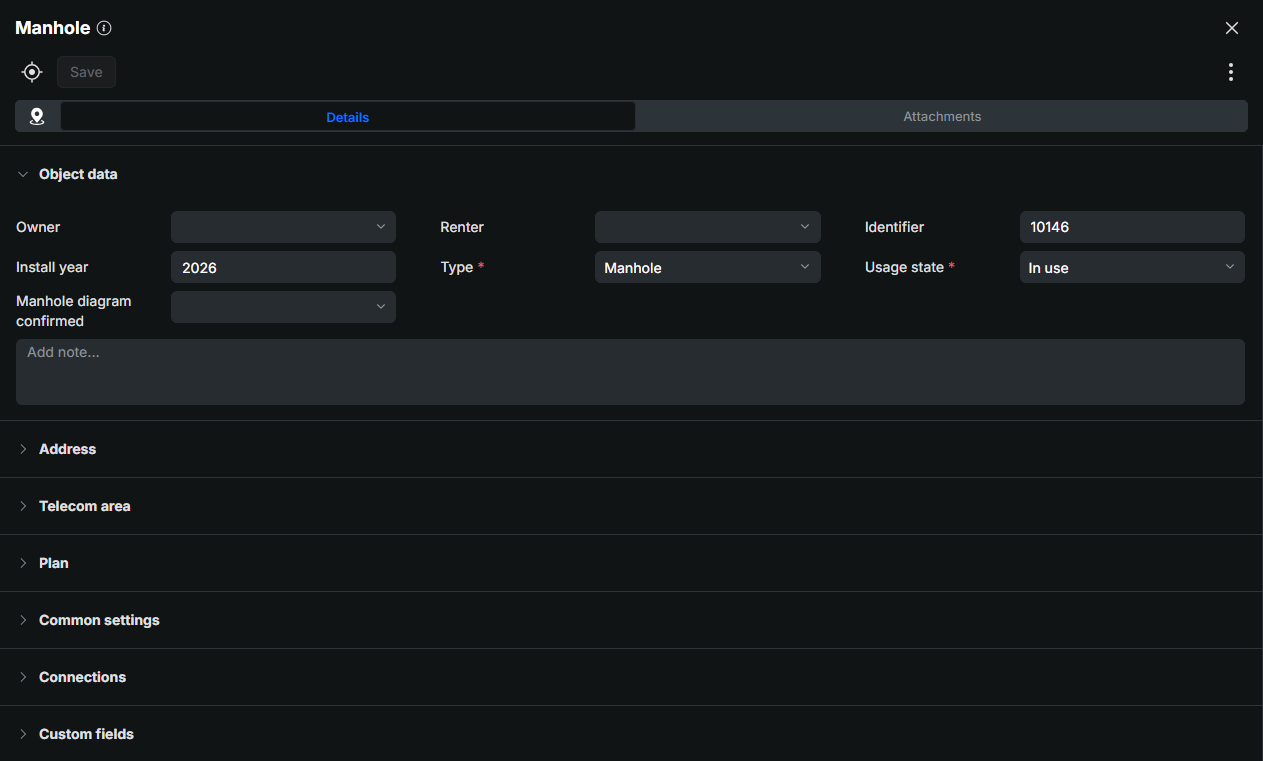
The Manhole pane functions mainly in the same way as described for other point objects in the sections Layout of the object pane and Creating a new object.
Cables
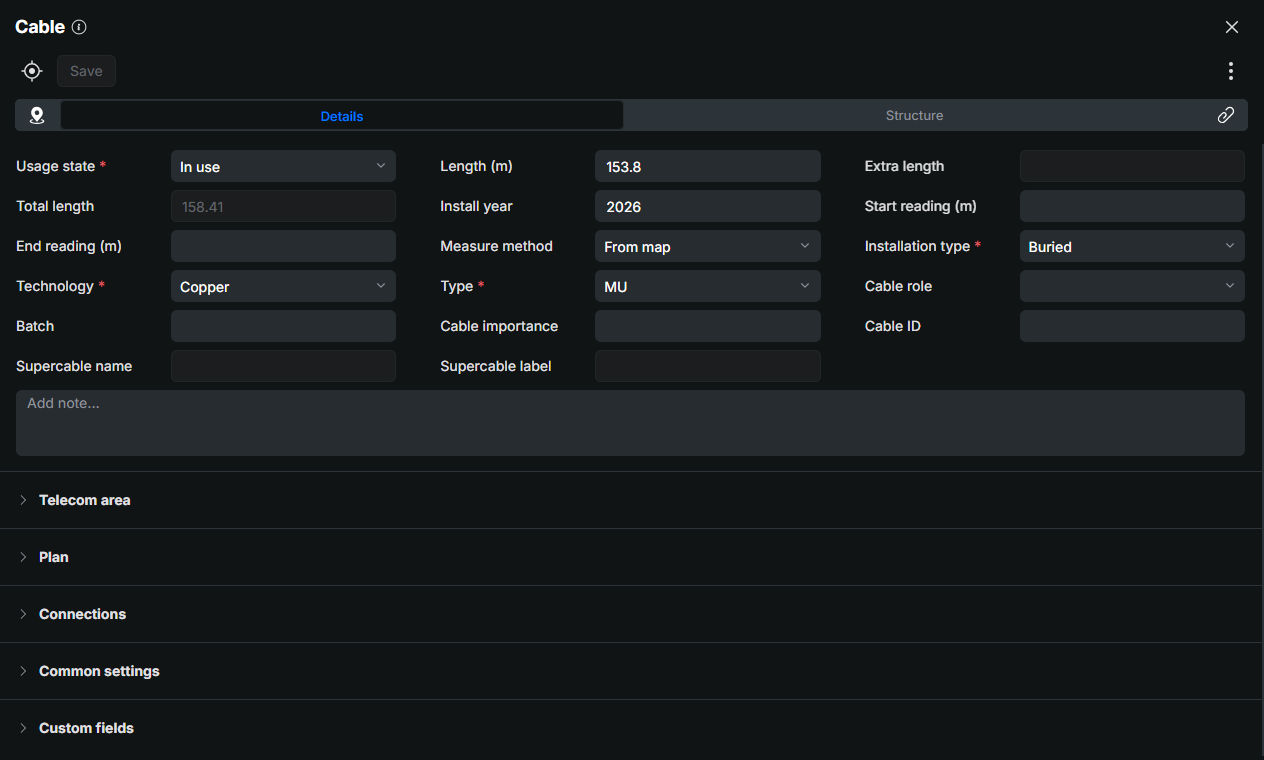
The Cable pane functions mainly in the same way as described for other line objects in the sections Layout of the object pane and Creating a new object.
Cable role
You can define the role of a cable on the Cablepane in the drop-down menu for Cable role. The default roles are:
- Drop
- Transmission
- Subscriber+Transmission
- Distribution
- Feeder
Cable batch and cable ID information
You can use the Batch and Cable ID information to identify different cable delivery batches. If quality defects are discovered after cables have been installed, you can use this information to locate the cables in question.
Managing threads
Open the Structure tab on the Cablepane. The Threads list displays the cable and its threads. You can view more detailed information on a thread by clicking Open form:
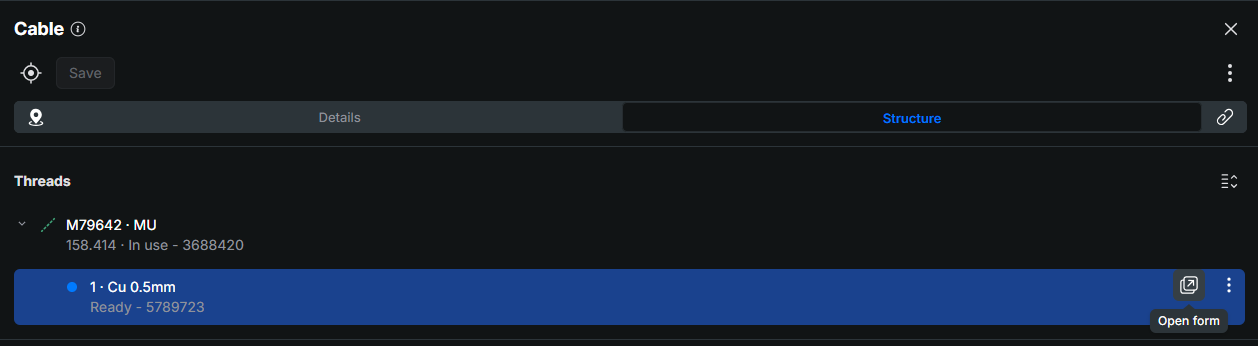
A separate Thread pane for managing cable's threads information then opens where you can add cable thread information, for example, their owners, usage state and right of use:
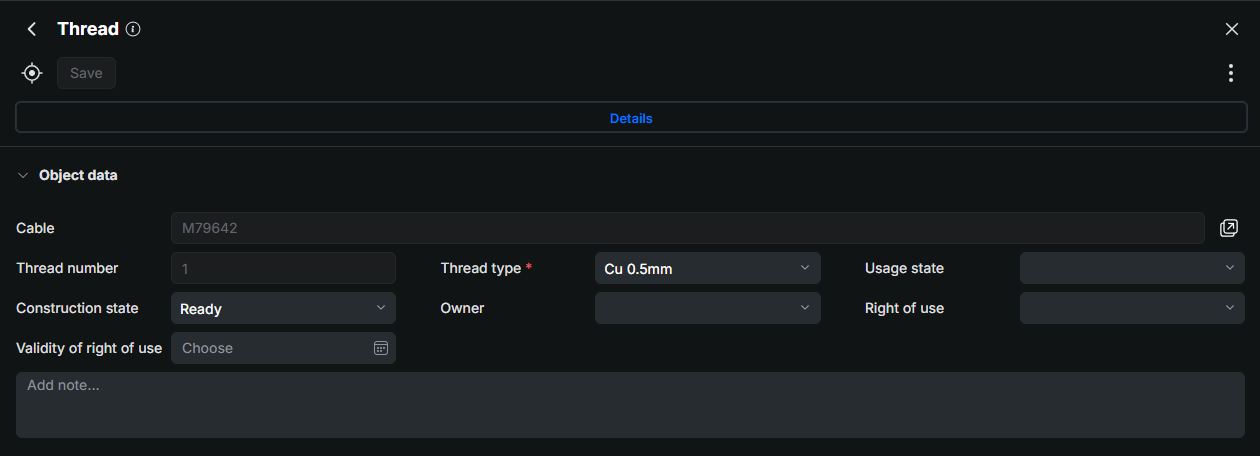
- Save any changes by clicking Save.
- To return to previous view (Cablepane), click < symbol at the top of the pane.
Conduits
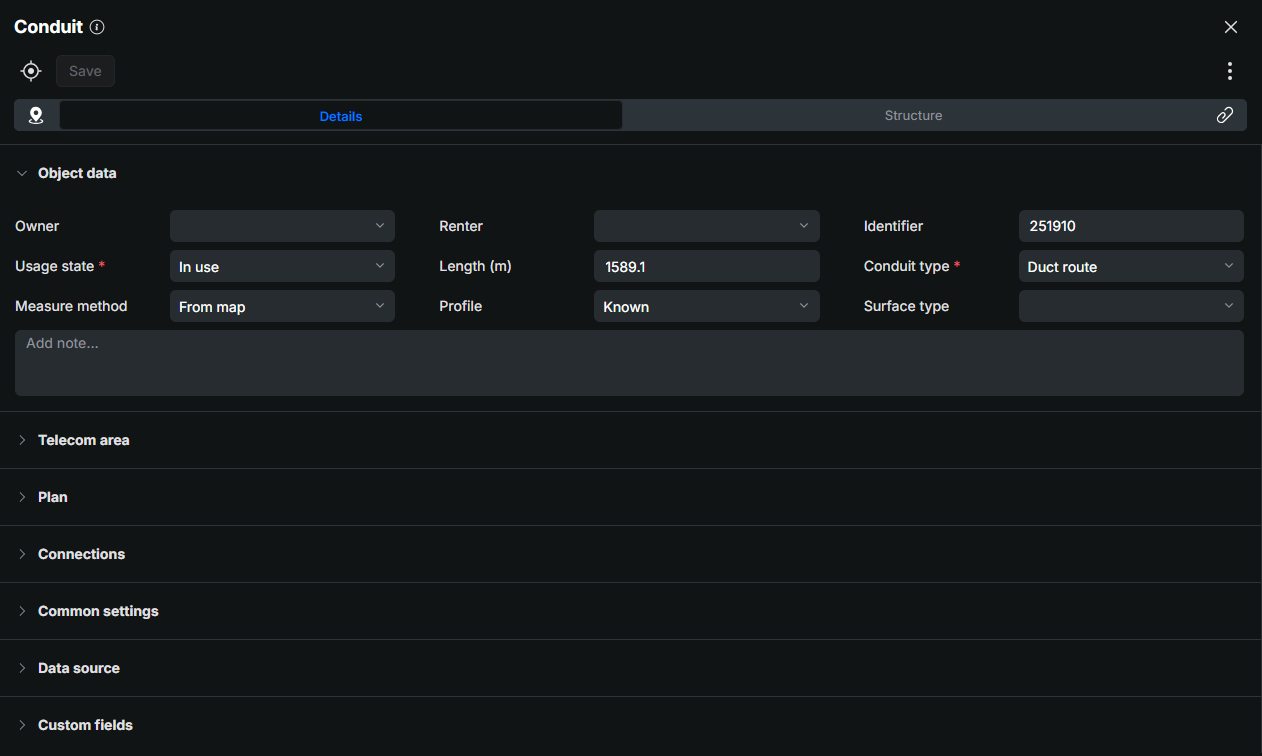
The Conduit pane is used to manage conduit information, ducts connected to conduits and any cables that are connected to them. The Conduitpane functions mainly in the same way as described for other line objects in the sections Layout of the object pane and Creating a new object.
Managing ducts
The Structure tab shows the ducts that run in the conduit route. You can view the ducts and adjust their position inside the conduit. You can only add or remove ducts in KeyAqua Legacy UI.
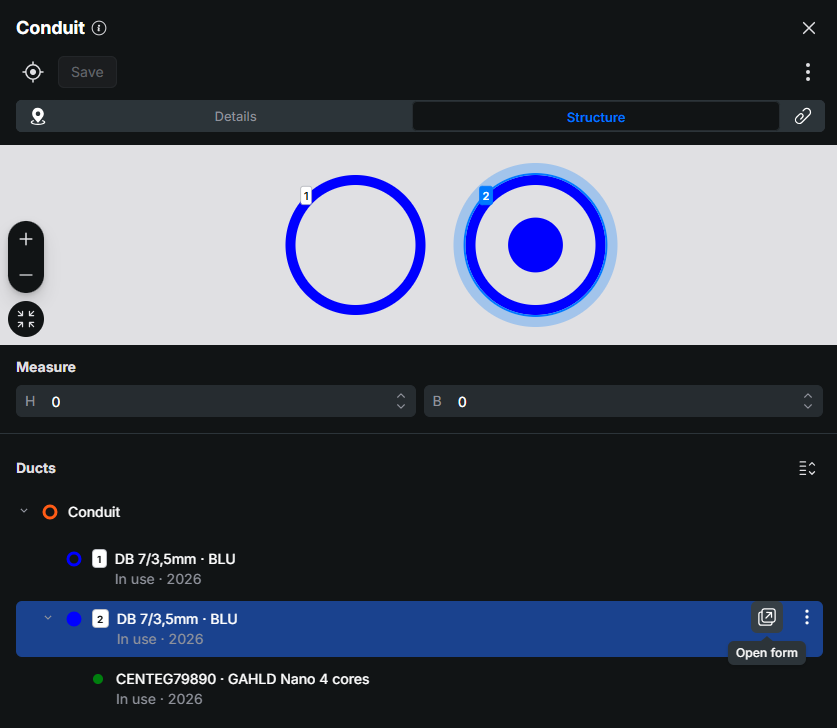
- Cross-section view: Shows the conduit and the ducts/cables inside it as a cross-section. Each duct has a number that matches the number in the Ducts list. Use the + and - buttons to zoom in and out, and the Zoom to all
 button to return the whole conduit to view.
- Measure: Shows the position of the selected duct in the conduit. Change the H and B values to move the duct. Click Save to keep the position changes.
- Ducts: Lists the ducts in a hierarchy, starting from the conduit. Click the arrow next to a duct to expand or collapse the items below it, such as the cables inside the duct. Each item shows its type, usage state and install year. Select a duct in the list to highlight it in the Cross-section view and to edit its position.
- Collapse all
 : The icon next to Ducts collapses all expanded items in the list.
- Open form: Appears when you point at a duct. Click it to open the duct in another pane, where you can edit its information. To return to previous view (Conduitpane), click < symbol at the top of the pane.
- Collapse all
Service area
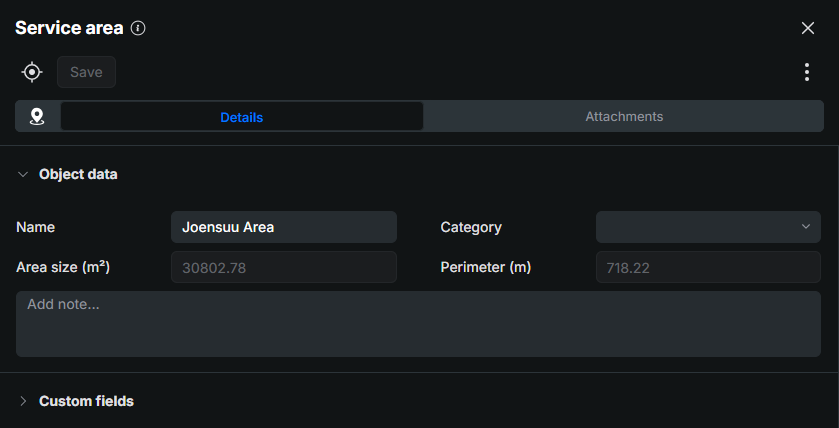
The Service area pane functions mainly in the same way as described for area objects in the sections Layout of the object pane and Creating a new object.
Telecom area
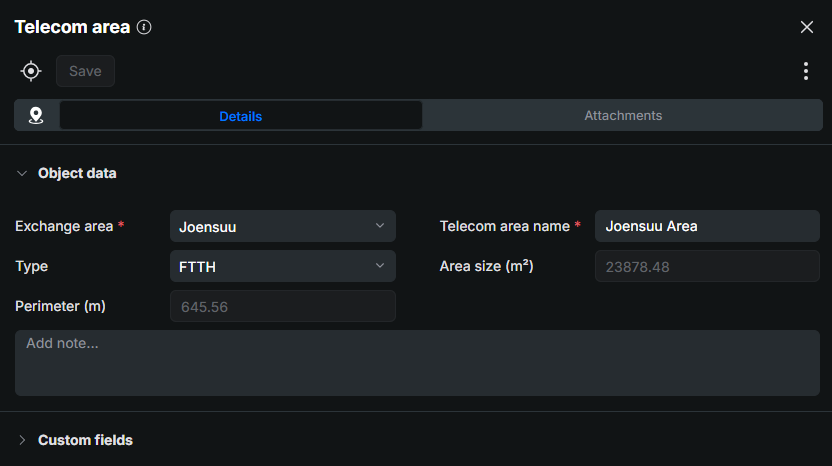
The Telecom area pane functions mainly in the same way as described for area objects in the sections Layout of the object pane and Creating a new object.