Each KeyAqua user is identified based on their personal unique username.
Creating new users
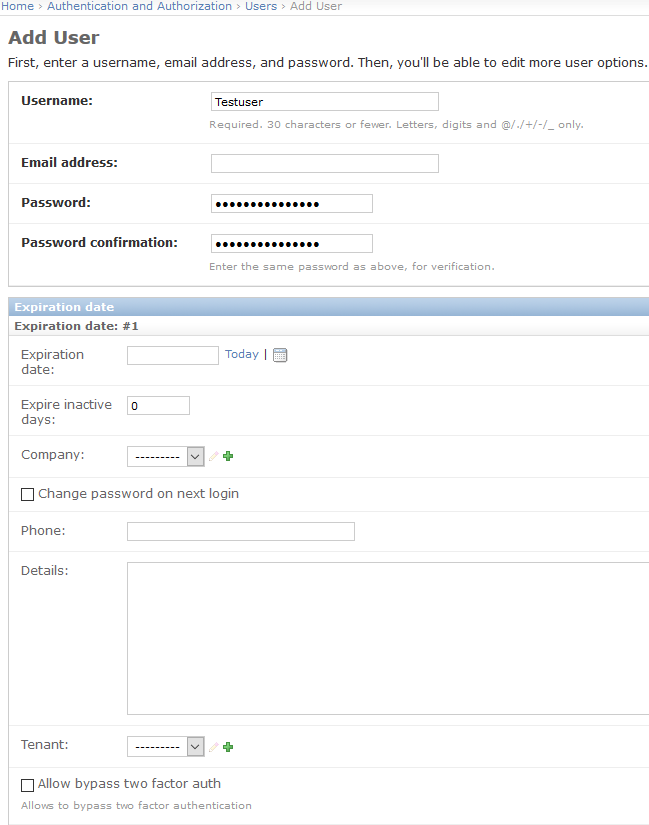
In the admin user interface, in the Authentication and Authorizations group, click Users, and in the top-right corner of the view that is displayed, click Add user.
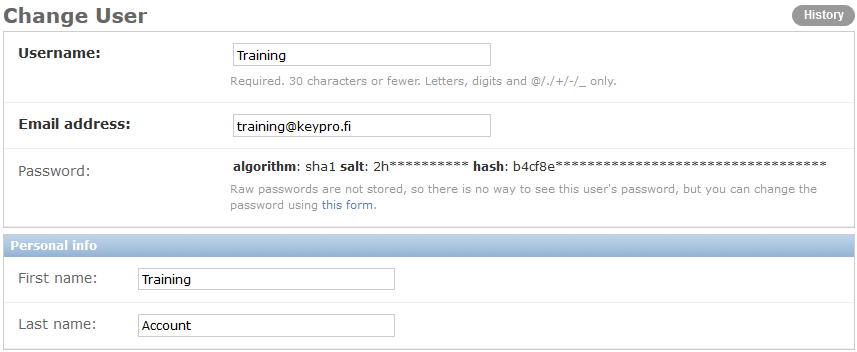
- Fill in the Username, which can have a maximum of 30 characters.
- Enter the same password in the Password and Password confirmation fields.

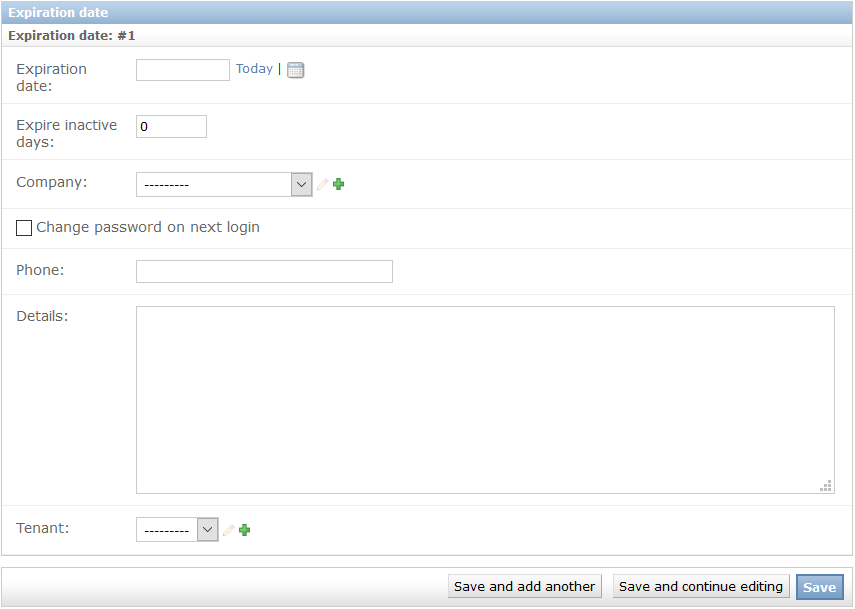
- Define an Expiration date if you want to limit the validity of the username. You can also define the expiration date for the username in days.
- You can link a username to a company.
- Select the Change password on next login checkbox if you want the user to change the password that you created.
- If you are using two phased authentication, it is important that the user's phone number is entered in the Phone number field. In the Details field, you can enter optional information about the user. The contents of the field will not be visible to the user unless you give the user admin rights.
- Click Save.
- On the displayed form, enter the user’s First name and Last name and Email address.
- Follow the instructions provided in the User authorisations chapter to define the user rights.
Deleting usernames
To delete an existing username, select the username on the Authentication and Authorizations > Users list and click Delete on the displayed form.
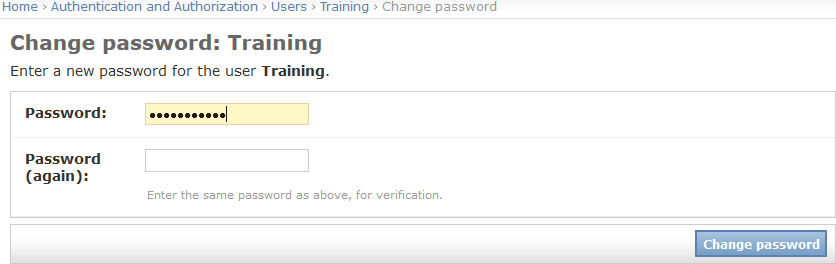
Changing user passwords
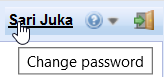
Users can change their own passwords through the link in the application’s main view. Alternatively, users can change their forgotten password by clicking Forgot password? link on the application’s log-in page.
Admin users can change the password for any user by selecting the appropriate username on the Authentication and Authorizations > Users list and by clicking this form link below the password on the Change User form.
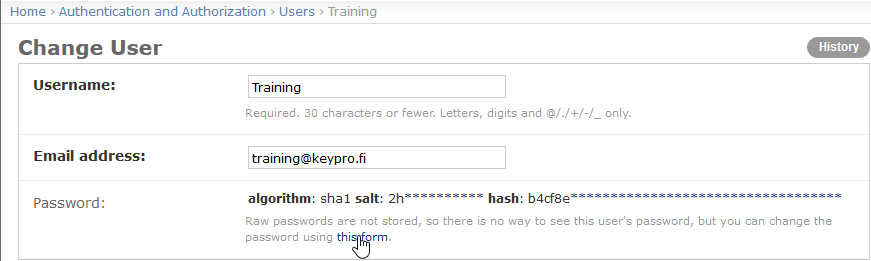
Note! For security reasons, passwords are stored in the system database with strong encryption, and not even admin users can view the passwords of users through the admin interface.
User authorisations
Add or modify the permissions assigned to a username.
- Select the username on the Authentication and Authorizations > Users list, or if you are creating a new user account, you can add permissions when creating the user account (Create new users).
- a) Select the Active checkbox to specify the validity of the username.
b) Select the Staff status checkbox to grant the user admin privileges.
c) Select the Superuser status checkbox to give the user all permissions without separate user group selections.
- Select the user groups available to the user from the Available groups’ menu.
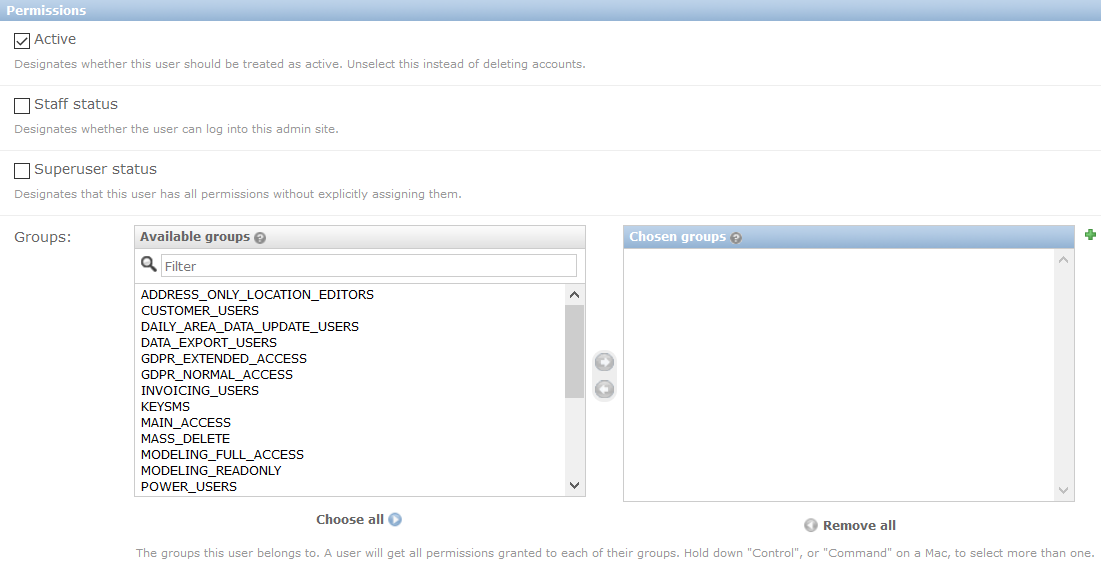
- Click the arrow button displayed between the lists to add groups to the Chosen groups list.
- You can define user-specific permissions in a similar manner.
- Save changes.
Available user groups in KeyAqua
Only default user groups listed in this chapter are maintained in version updates. If there are other user groups, that user has created by themselves, they need to be updated by the customer manually. We suggest using only the groups listed in this chapter.
The following user groups have been defined as default groups in KeyAqua:
- POWER_USERS is a user authorised to add, modify, and delete network objects.
- DATA_EXPORT_USERS is a user authorised to export data to another data format by using the Export function.
- READONLY_USERS is a user with viewing permissions (no right to modify), who can open and pick network objects to their forms.
- CONSUMER_LAYERS is a user who has access to the Customer and Consumer point forms.
- REFERENCE_MAP_USER is a user authorised to import files to the map by using the Spatial upload function.
- MASS_DELETE is a user authorised to delete several objects at once. The mass deletion function of the application must be activated to enable this.
- MAIN_ACCESS is a user authorised to use the main application only. KEYCORE_IGNORE_MAIN_VIEW_ACCESS_GROUPS must not be in an active state in the application.
- VIEWER_ACCESS is a user only authorised to use KeyMobile. KEYCORE_IGNORE_MAIN_VIEW_ACCESS_GROUPS must not be in an active state in the application.
- GDPR_NORMAL_ACCESS is a user authorised to view customer data.
- GDPR_EXTENDED_ACCESS is a user authorised to view customer data and customer data of the “Private–restricted” type.
- HTK_ACCESS is a user who has access to the Alert form.
- MODELING_FULL_ACCESS is a user who has access to use the Modeling function.
- MODELING_READONLY is a user with viewing permissions (no right to modify) on the Modeling form.
- USER_THEME_GROUP is a user who has access to User theme form.
- UV_CONTRACTOR_DIRECTOR is a user who has director’s rights. He/she has the rights to control and supervise the work related to the contractor.
- UV_CONTRACTOR_MECHANIC is a user who has mechanic’s rights. He/she has the rights to carry out tasks related to the UV contractor.
- UV_MAINTENANCE_CONSTRUCTOR is a user who has access to KeyWork forms.
- UV_USER is a user who has viewing access and limited modifying access to KeyWork forms. This user group always must be active if there’s also additional UV user groups that need to be active in the environment.
- POPUP_MESSAGE_USER is a user who has Notifications tool enabled in the user interface. The application will be polling the Notifications center for new messages for the user and open them in the lower right corner of the UI.
Defining two phased authentication for a user (This function is subject to a separate order.)
For two phased authentication, the user must provide not only a username and password, but also a one-time password received via SMS to log into the system.
Adopting two phased authentication (Admin)
- Go to Authentication and Authorizations Users.
- To modify the user data, click the username or add a new user by clicking Add user.
- Make sure that the Phone field has the person’s correct phone number.
- Check that the following checkbox is NOT selected: Allow bypass two factor auth.
- Save the changes to apply two phased authentication to the user.
Logging in when using two phased authentication
- Enter the username and password in the log-in form’s fields and click Log in.
- If the credentials you entered are correct, the system will send a single-use code to your phone as a text message. Enter the code in the Code field and then click Log in. If the code is entered incorrectly, the system will send a new single-use code to your phone.