You can use the Plan field of an object form to attach the object to a Plan  . If the required plan does not yet exist, you can create one on the Plan
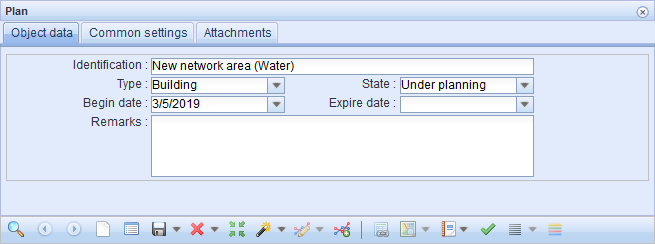
  form. The mandatory fields for a new plan are type, state, and identification. Plans are selected to other forms based on their identification, so it is good to use a unique ID. After you have created the plan and saved it in the system by clicking Save form
  , it can be selected to object forms through the Plan menu of the forms.
Set as the default plan
Click Set as default plan  to set a plan retrieved to a form as the default plan. When you click Defaults on an object form, the default plan is automatically added to the form. To deactivate the Default plan setting, clear the Plan form and click the Set as default plan
  button again. A notification will be displayed: Default plan cleared.
Highlighting a plan and listing objects
All KeyAqua objects can be linked to a plan. Object forms include a drop-down menu called Plan, which lists all plans with a state other than Ready. When the state of a plan is Ready, it means that the plan has been implemented and it will therefore no longer be added to objects.
You can create a new plan with the state in Under planning. You can then start digitizing ducts. New planned ducts must be added to the plan you created and the duct state must be either Under planning or In preplanning. After you have digitized all the objects in the plan and the installation of the objects is started in the field, you must change the state of the plan to Under implementation. When the plan has been completed, change the state of the plan to Ready. The state of all objects that have been added to the plan then changes to In use, which means that the objects are ready and in use.
Objects that are part of a plan can be highlighted on the map by clicking Highlight  . This centers the map on the objects included in the plan and highlights the objects on the map.
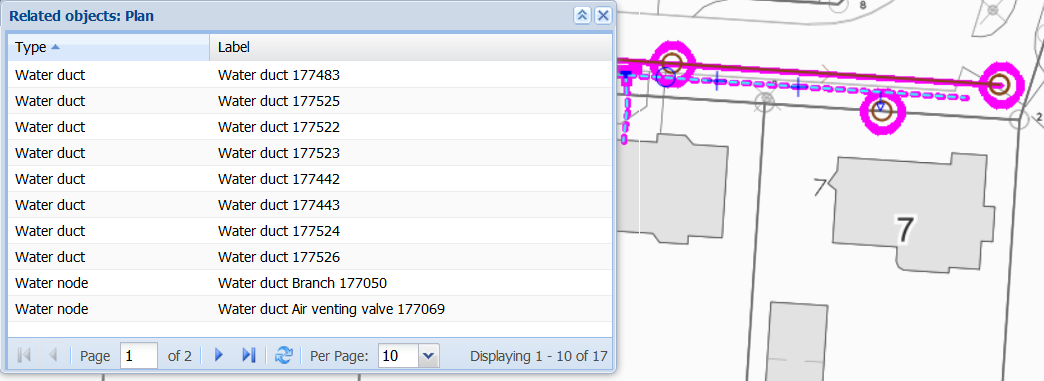
Click List objects of the plan  to view information on a plan’s objects. This opens a window from which you can further open the forms for objects that are part of the plan.
In the figure below, the listed plan objects are highlighted on the map.
Adding objects to a plan
You can add each network object to a plan. Object forms include a menu called Plan, which lists all plans with a state other than Ready. Plans with the state Ready are plans that have been implemented, and they can no longer be linked to objects.

New planned objects must be added to the plan you created and the object’s State must be either Under planning or In preplanning. After you have digitized all the objects in the plan and the field installation of the objects starts, you must change the state of the plan to Under implementation. When the plan has been completed, change the state of the plan to Ready. After this, the usage state of the objects added to the plan will change to In use.
Completing the plan
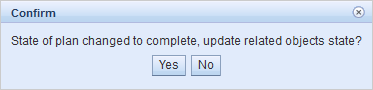
Plans include a feature that automatically updates the objects linked to the plan when the plan state is set to Ready. The objects will be updated according to the type of the plan.
The feature can be used in cases where a network has been planned on the map with subsequent implementation, and the usage state of the objects should be updated to In use. To update the usage states, upload the plan to the form and change the state to Ready. Click Save form. You will be asked to confirm your selection. Click Yes to update the state of the related objects to In use.
Tasks related to plans
To list the tasks of the plan and plan objects, click Tasks  .
.
Tasks are discussed in more detail in the Tasks chapter.
Show in group display
Click Show current in group display  to open the plan’s objects in a group display. More information on the group display is available in the chapter Group display.