Field tools enable users to collect and submit field information directly from the KeyAqua Nexus interface. Using Field tools, users can create surveys, capture photos, add text notes, and report faults while working in the field.
You can activate Field toolsfrom the Tools menu.
Available in Field tools
Choose the appropriate tool for the task. The following tools are available:
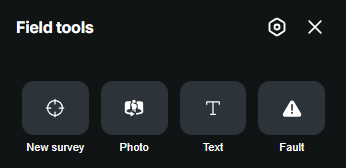
- New survey – Use New survey to create field surveys.
- Photo – Use Photo to capture and submit photographs from the field.
- Text– Use Text to create and submit text-based field notes.
- Fault – Use Fault to report faults, defects, or other issues found in the network or assets.
New survey
The New survey feature allows you to record survey points and lines directly in the field using your device's GPS location.
Creating a new survey session
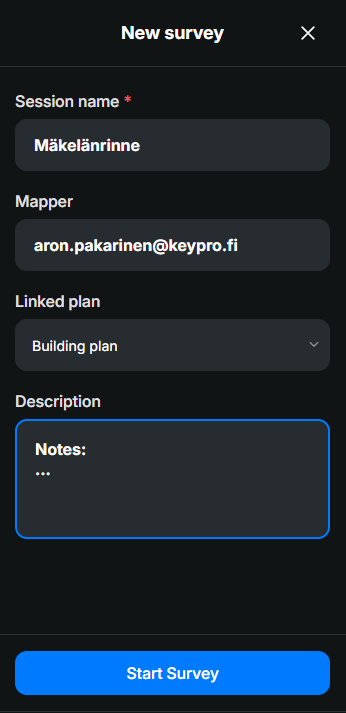
- Open New survey from the toolbar.
- Enter a Session name.
- Select a Linked plan if required.
- Add a Description for the survey session if needed.
- Review the displayed GPS accuracy and coordinate information (automatically updated).
- Click Start survey.
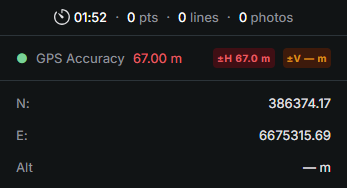
The survey session pane displays the elapsed survey time, the number of recorded survey points, survey lines, and attached photos, as well as the current coordinate values, and GPS accuracy information for the active survey session.
Recording survey points
Use survey points to record the location of nodes, observations, or other field measurements.
- Create and start a survey session.
- Ensure Point is selected:
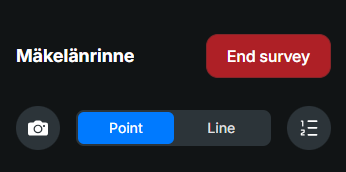
- Select a survey object or template and enter object's Depth (m) below ground level.
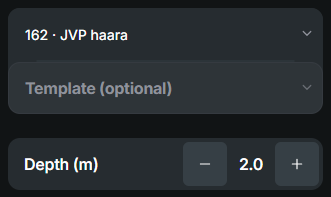
- Move to the location you want to record.
- Verify the displayed GPS accuracy.
- Click Add.
- A survey point is created using the current GPS location of the device.
- Attach a picture to the survey with the Photo
 feature if needed.
Recording survey lines
Use survey lines to record the location of linear assets such as ducts.
- Create and start a survey session.
- Ensure Line is selected:
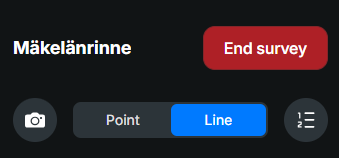
- Select a survey object or template and enter lines Depth (m) starting point below ground level:
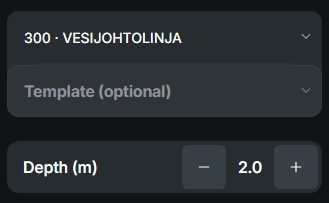
- Click Start to start recording the survey line points.
- Click Add to create the starting point for the survey:
- Add more survey points along the route as required.
- Click End to stop recording the current survey line. The recorded points are connected to form a survey line.
- Attach a picture to the survey with the Photofeature if needed.
- Click Start again, to add another survey line.
Ending a survey
- Click:
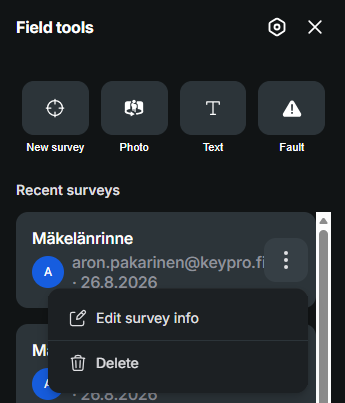
- The survey session is saved and can be reopened from Field tools -> Recent surveys by selecting Edit survey info
 . To reopen te recording mode for a survey session, simply click it from the Recent surveys list.
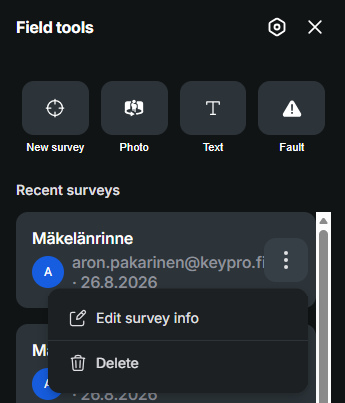
Deleting a survey
To remove a saved survey session, click Delete .
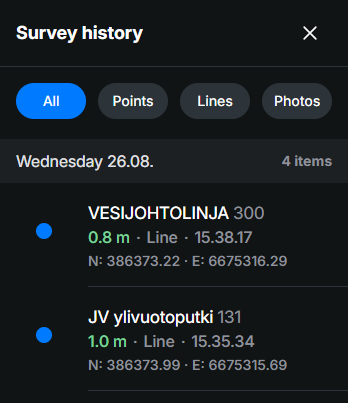
Survey history
The Survey history button opens a list of all survey points, lines, and photos recorded during the current survey session. The history view allows you to review collected survey data and attachments.
Photo
Use Photo to capture and submit photographs from the field. When the Phototool is selected, the device's camera application opens, allowing the user to capture and upload photographs directly from the field.
Photos can be used to:
- Document asset conditions
- Record completed work
- Capture damage or defects
- Provide visual evidence for inspections and maintenance activities
- Photos are submitted together with the location and asset-related information where applicable. At a minimum, enter a value in the Type field, which is mandatory.
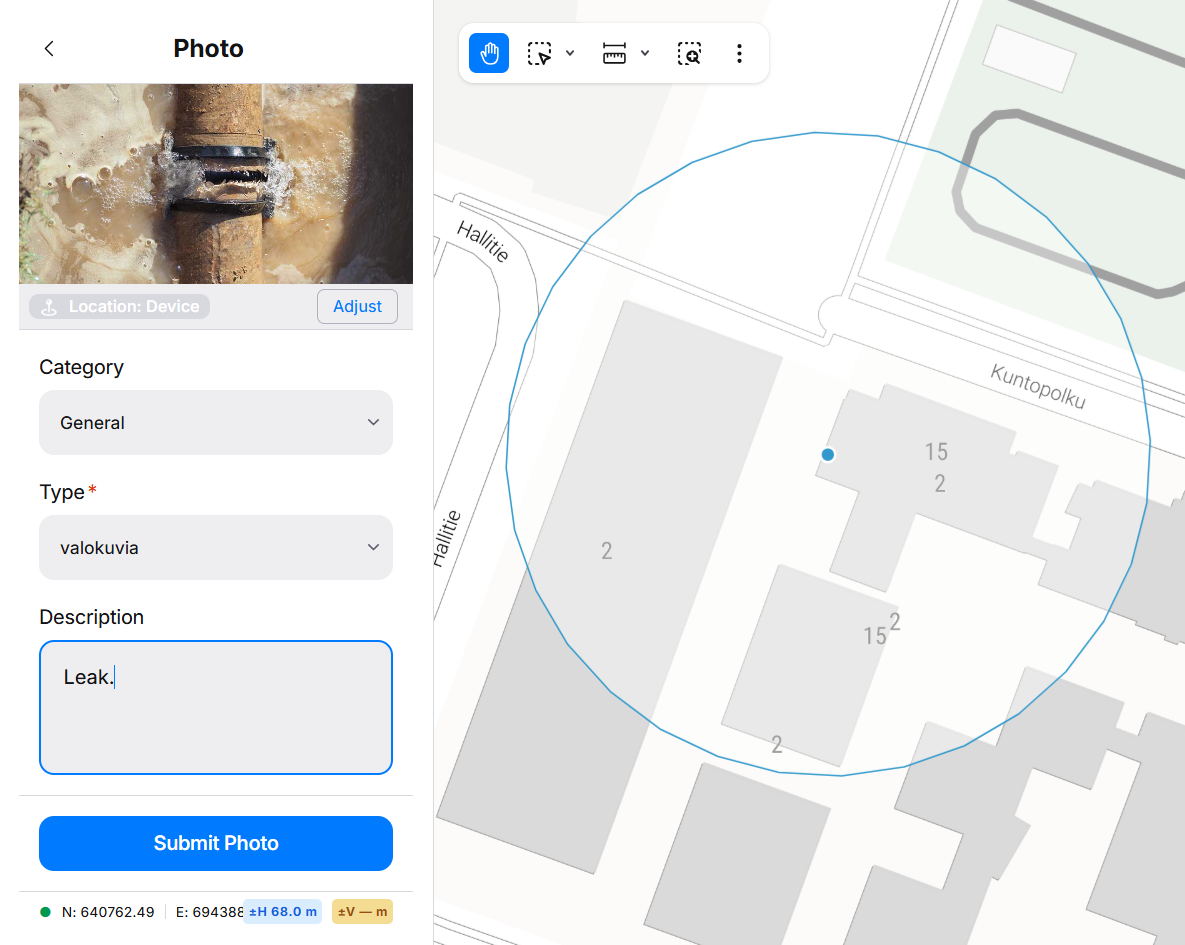
- To adjust the location of the photo before submitting, click Adjust, move the map to the place you want to add the photo and click Confirm.
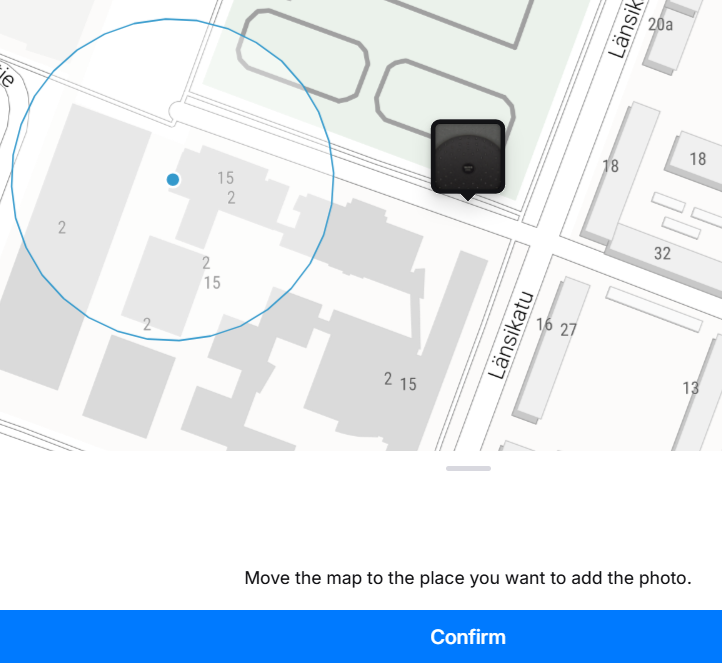
- After entering the required information, click Submit Photo to upload and save the photo in the system.
Text
Use Text to create and submit text-based field notes.
Text notes can be used for:
- Observations
- Comments
- Inspection findings
- Additional information that does not require a photo or survey form
- Texts are submitted together with the location and asset-related information where applicable. Text field is the only mandatory field.
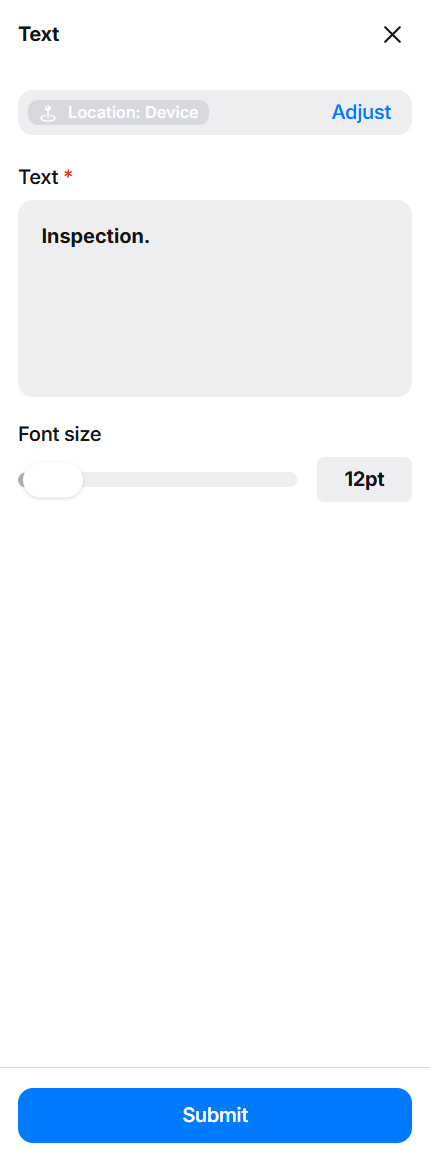
- To adjust the location of the photo before submitting, click Adjust, move the map to the place you want to add the photo and click Confirm.

- After entering the required information, click Submit to upload and save the text in the system.
Fault
Use Fault to create an Fault report for defects, damage, safety hazards, or other issues identified in the field.
- Faults are submitted together with the location and asset-related information where applicable. At a minimum, fill in the Fault description, Type and Severity fields.
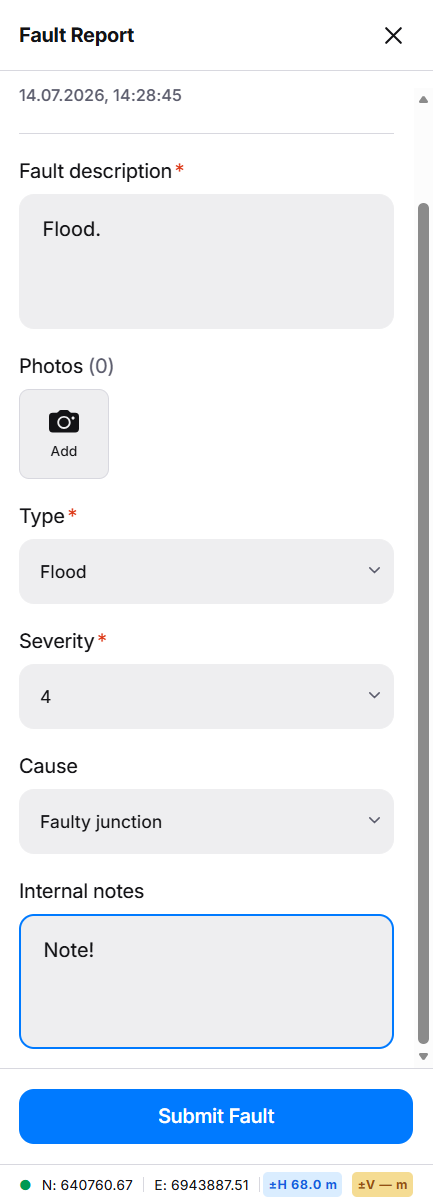
- To adjust the location of the photo before submitting, click Adjust, move the map to the place you want to add the photo and click Confirm.

- After entering the required information, click Submit Fault to upload and save the text in the system.