This article explains how to find and browse network information in KeyAqua Nexus using the available search and filtering tools. To effectively gather relevant network information from the system, it is important to understand how to utilize search tools.
Learn how to:
- Search for network objects using Quick search and Advanced search
- Browse network and manage objects in Table view
- Select and review network objects using the Info tool
KeyAqua Nexus search bar (Quick search)
The KeyAqua Nexus search bar is located at the top of the map view. It provides a quick way to search for network objects in the system.
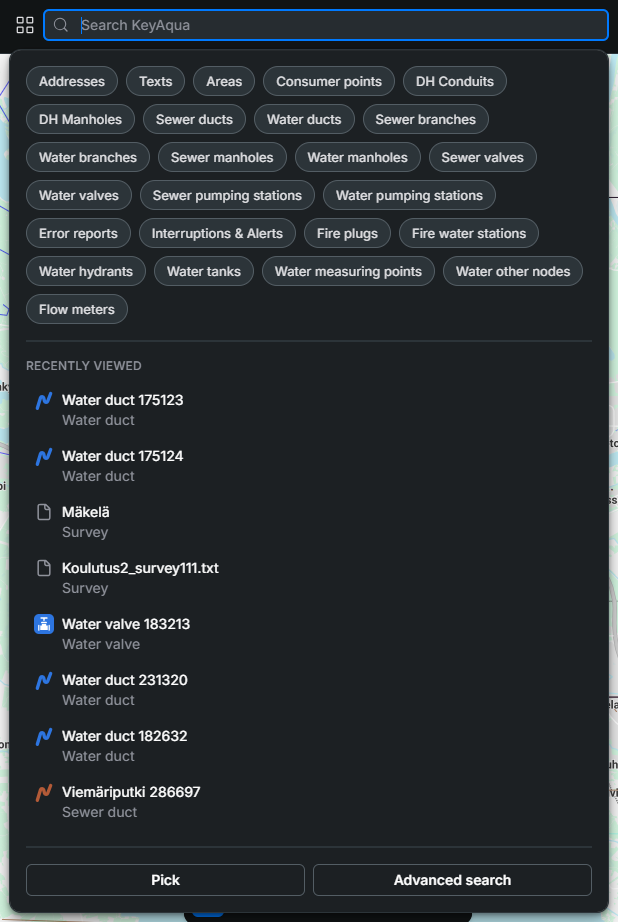
- Enter the object's identification number and press the search button or choose the correct object from the suggested results. The search can also be filtered by choosing a filter group below the search bar. If no object ID is entered, the search returns recently viewed objects from the selected filter group.
- The network objects that match the search are then presented in suggested search results.
- To perform a more advanced search, click Advanced search. The results are displayed in table view, where you can refine your search using additional filters and criteria.
Advanced search
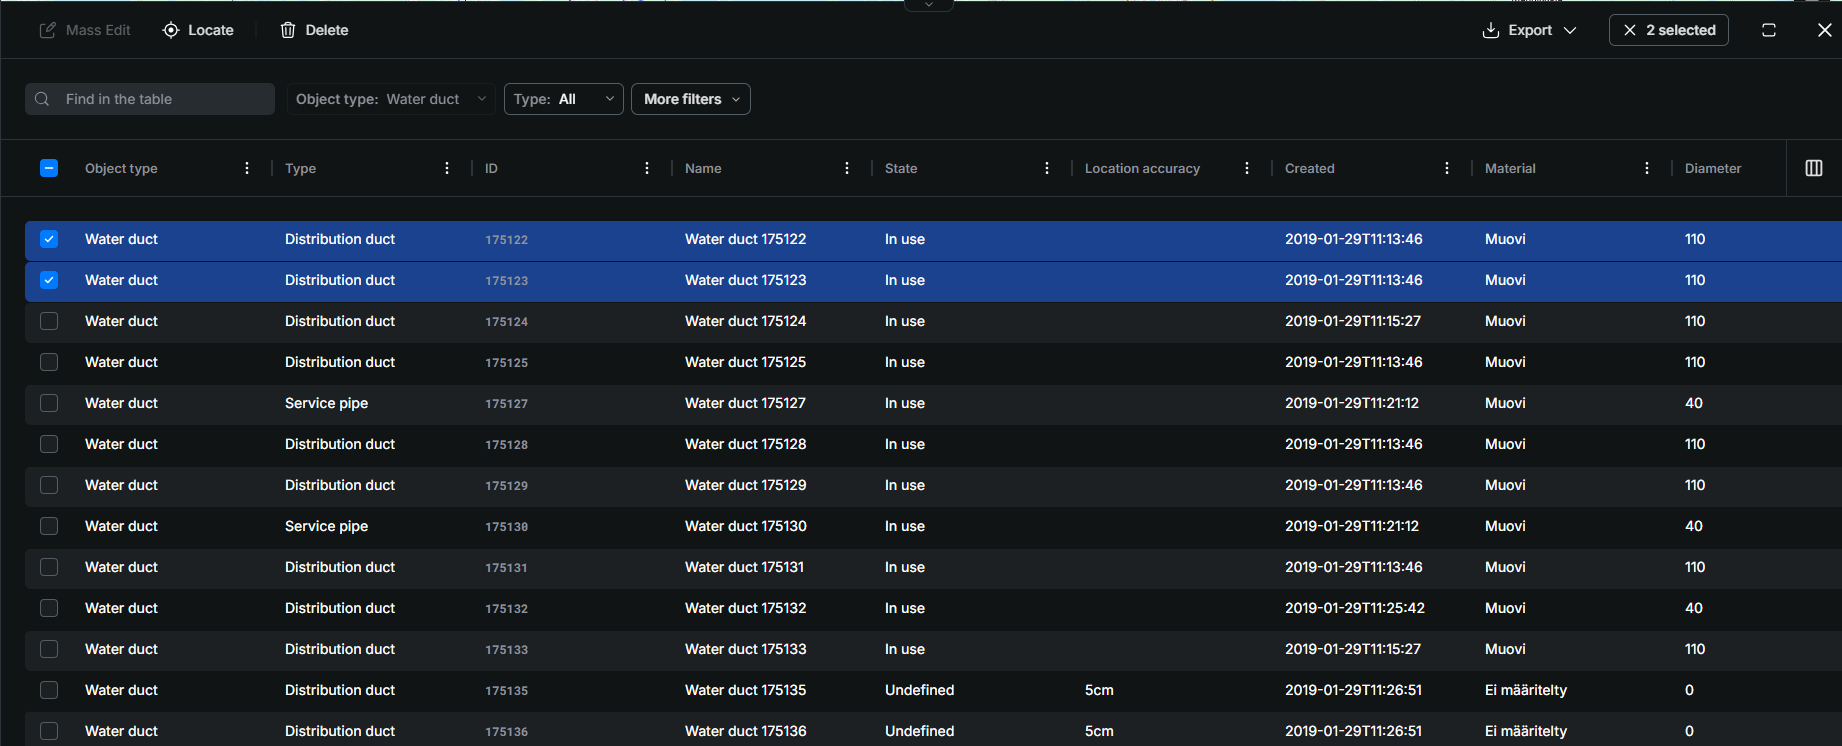
Advanced search opens the selected search results in Table view, where they can be searched, filtered, sorted, and managed using the available functions. If no search criteria have been specified, all objects matching the selected filter group are displayed. Additional filters can then be applied directly in Table view. Read more in Working with the search results in Table view.
Browse network
The Browse network feature is located next to the search bar and serves as one of the main entry points to Table view. It allows you to browse, search, filter, and manage network objects within the selected object group. It's designed for cases where you want to start your search from scratch and define the type of network objects that are show in the Table view.

- To start browsing, select a desired object type from the list. You can also select All visible items on the map to display all items currently visible on the map, or All modified today to display all items that have been modified within the last 24 hours.
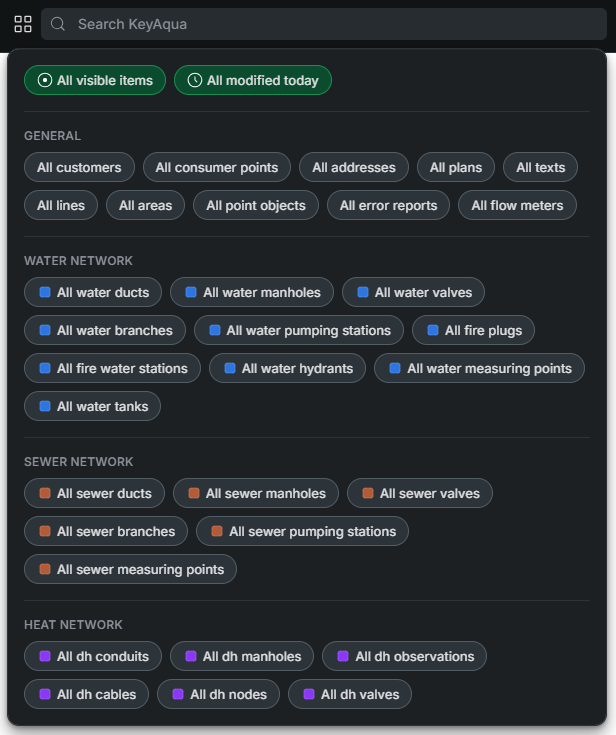
- All available objects are then presented in a table view.
Picking object information from the map
Network objects can be examined directly on the map using the Info tool and other picking tools. You can review their properties or transfer the results to Table view for further analysis.
Info tool
You can use the Info tool to view information on network objects.
Click Info tooland then use the left mouse button to define an area where objects are selected. You can only select objects that are visible on the map; in other words, only the activated object layers are available during the selection.
You can retrieve information on more than one object at the same time. There are several possible ways to retrieve information on multiple objects.
The Select objects on current map view function works similarly to the Info tool, but automatically retrieves information for all objects currently visible in the map view.
A query opens a Selected objects in which the search results are listed. Click Show in table to show results in Table view where the search results are grouped according to their object type, such as water ducts and sewer nodes.
Info tool options
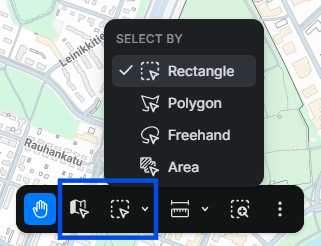
From the drop-down menu next to the Info tool, you can select one of the following five functions to pick objects from the map:
- Rectangle: After clicking the Info toolbutton you can define a rectangular area by selecting the area you want by holding down the left mouse button.
- Polygon
 : You can use the Polygon function to define a polygon area on the map and pick all objects.
- Freehand
 : Define a free area by hand and pick all objects inside of it.
- Area
 : You can use the Area function to select an area that has been saved in the system using the Area pane, and to retrieve the objects in that area.
Info tool filtering
You can filter your search to specific objects by using object layer selection. For example, in the Layers tool, select only the Water layer to limit your search to the water network.
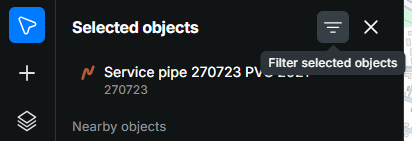
If the map explorer is pinned to the sidebar, object filtering options become available through the Filter selected objects button .
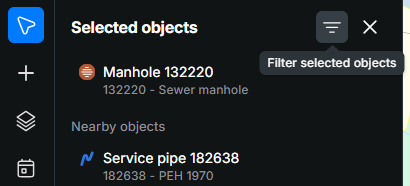
Pin map explorer
The Pin map explorer tool allows you to keep the Selected objects list visible while working with the map.
By default, the map explorer appears as a temporary pop-up panel when objects are picked from the map. When Pin map exploreris enabled from the Map tools, the Selected objects list is docked to the side bar under the Selected objects tool, making it easier to browse while continuing to navigate the map.
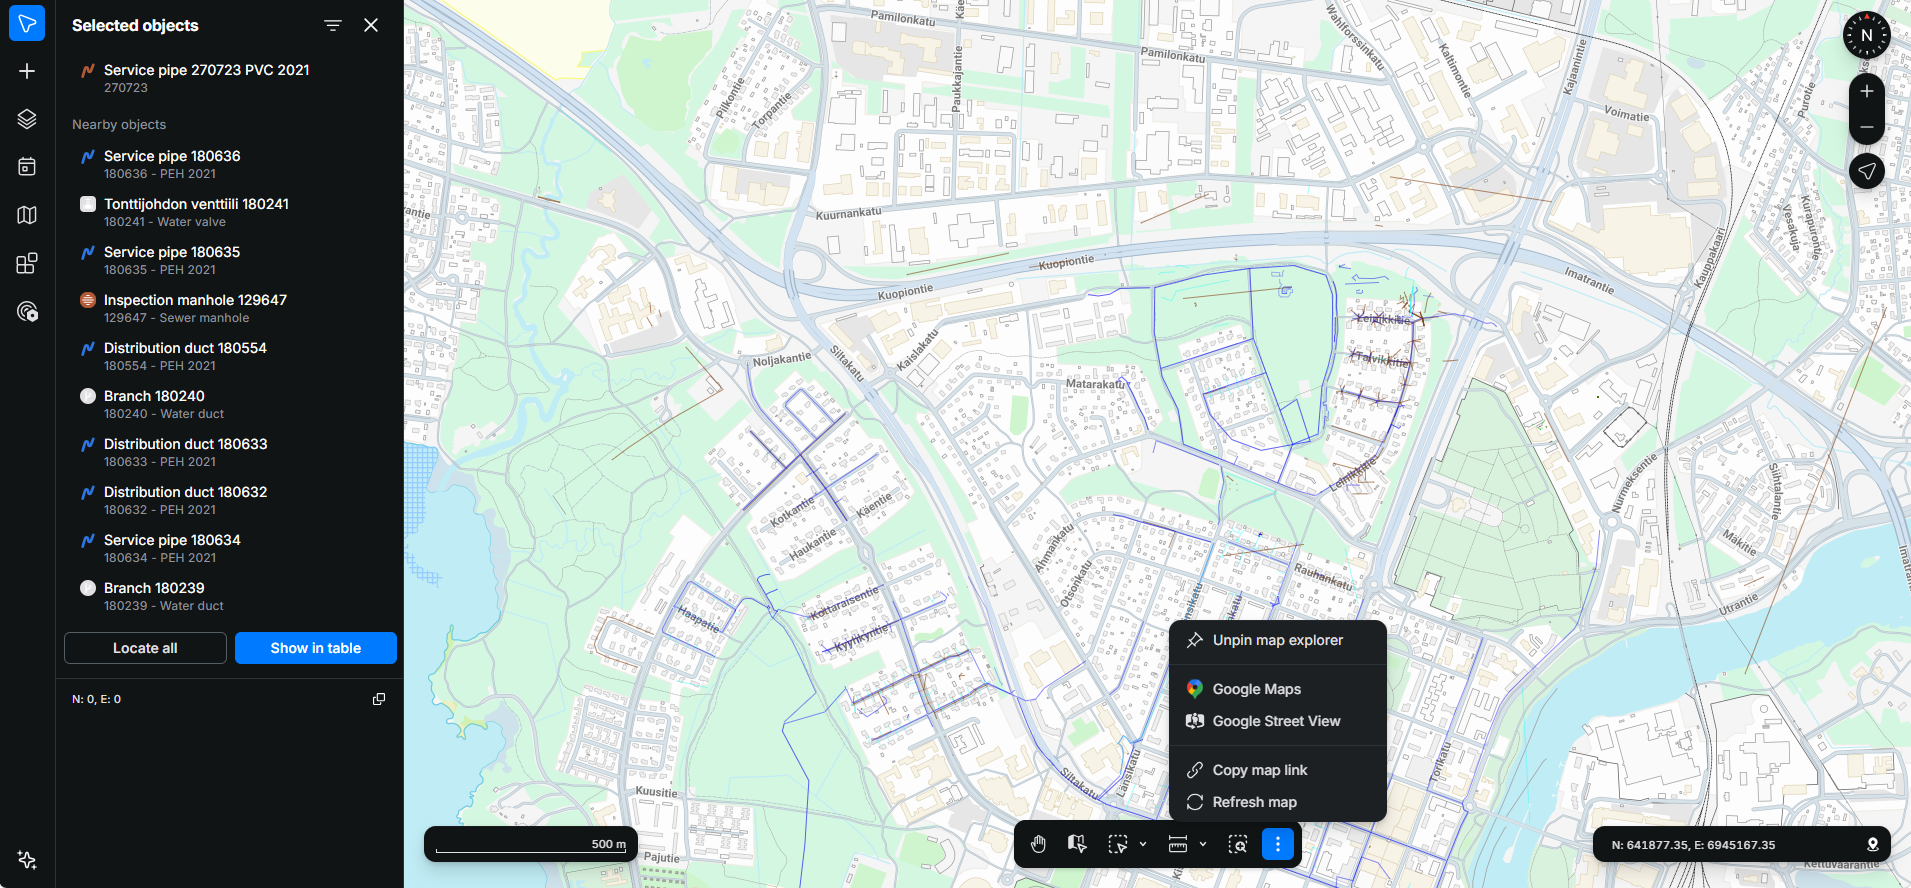
Also, object filtering options become available through the Filter selected objectsbutton.