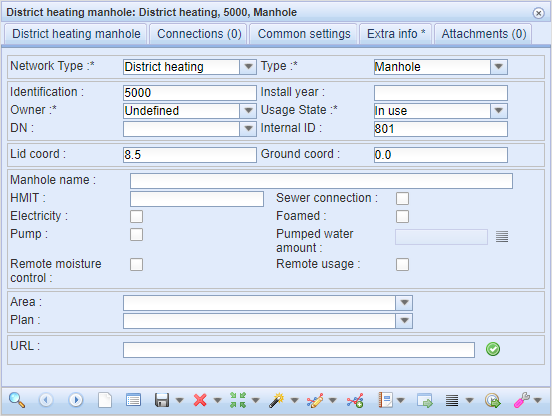
District heating manhole form
The form for managing district heating manholes is opened with the District heating manhole  button. When creating a new manhole, you must first fill out at least the required property information on the form. Required fields are marked with an asterisk (*) on the form.

Digitizing manholes
After completing the required fields on the form, click Create new  to create the object on the map. When you click the button, the Drawing options dialog is displayed. The manhole is created either by pointing its position on the map, or by using the Snapping function in the Drawing options window. The Snapping function is used to place the manhole at the same position as another existing point object or a point of a line object. To do this, hold down Shift when clicking the left mouse button on the object or point. When the Snapping function is active, the mouse pointer is shown as a light-blue circle. If snapping was successful, the bottom bar will read: Snapping completed. If Snapping failed is shown at the bottom bar, it is not possible to snap to the object in question. The manhole’s location and property values are automatically saved in the database. You can then enter other property values for the object and update them in the system by clicking Save.
Tip: You can connect the manhole to an address on the Extra data tab. You can also record other information related to the object in the additional information.
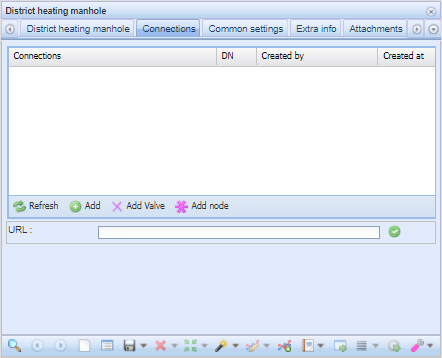
Manhole connections
The Connections tab displays information about the connections of the manhole. On the tab, you can connect the manhole to a valve or node. The title of the Connections tab shows the number of connections made.

There are two ways to connect a valve or node, on the map or using a form:
- Select Add
 to select a node or valve on the map. If more than one object resides in the area you are cropping, double-click to select the right object from the list box that opens.
Or:
- Click Add valve
 or Add Node
  , to open the form for the selected object. Fetch the correct object to the form and, on the Other tools menu, click Connect manhole on form, as guided by the program.
 - If necessary, update the list with the Refresh
 function.
 - In the URL field, you can enter the network address associated with the connections. To open the URL, click the
 Open URL button.
Changing the rotation of an object

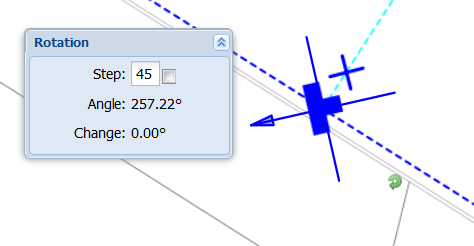
The rotation of a district heating manhole can be changed using the Rotate function. The Rotate window opens automatically when you create a new object and when using the Rotate function in the Modify  tool’s drop-down menu. A blue cross is shown on top of the object you are editing, illustrating the angle of rotation of the object. You can grab the rotating arrow
  and move it to the desired angle. Click Save on the form to save changes. In the Rotate dialog, you can turn on Steps by checking that checkbox. Use this feature if, for example, you want to rotate an object in exactly 45-degree steps.